
How to Create a Shape
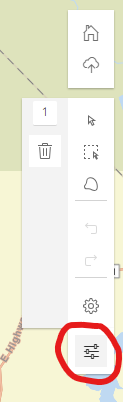
- From the IPAWS map View use the drawing tools on the top right corner of the map.
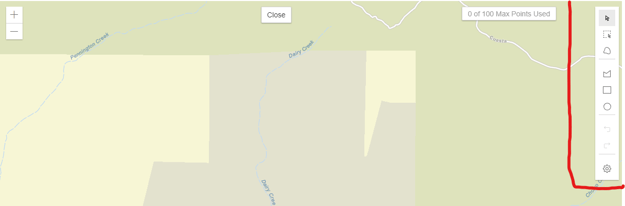
- Select the type of shape you would like to draw.
- Available Options:
- Square
- Circle
- Polygon
- Available Options:
- Draw your shape to cover your target alerting area
- For squares and circles click on the map and then drag your mouse until the shape covers your desired area
- For polygons:
- Click to add new points to your shape
- Outline your target area on the map
- Double click to close the polygon and create the shape
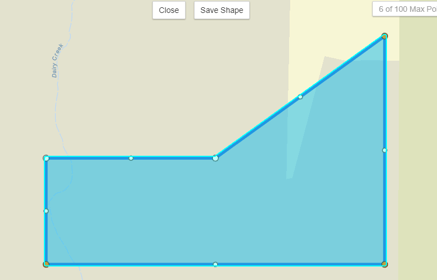
- Click Save Shape when you are done.

Only one shape can be added at a time, if you need to add more than one shape to cover your alerting area, click the Add Shape button from the Create Public Message form to launch a new map session and create additional shapes.
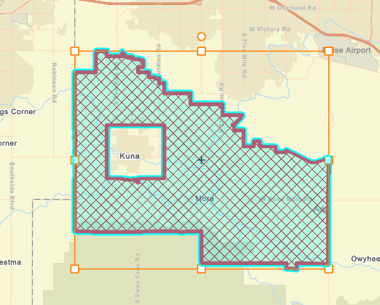
FEMA has the following restrictions when creating alerting areas
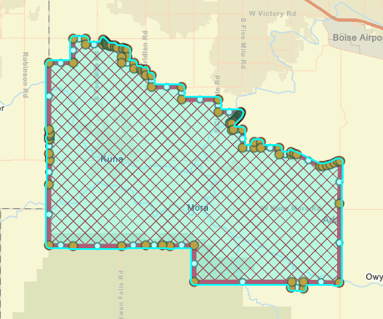
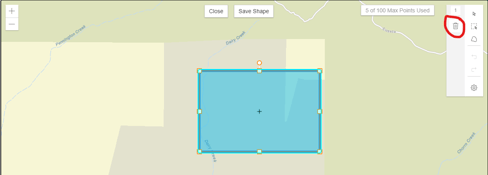
- You can have up to 100 points total
- You can create up to 10 shapes
- The 100 point maximum is the total number of points from all the shapes you create
How to Edit a Shape
Moving a Shape
- Click the shape on the map view to activate it.
- Then click and drag your shape to cover your target alerting area.
- Click Save Shape when you are done.
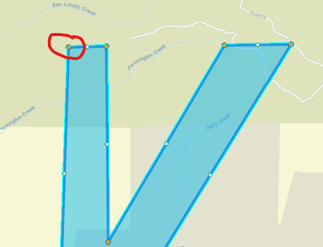
Adding Points to a Shape
- Double click the shape on the map view to active point editing.
- Hover over and click one of the white dots that are now visible on the lines of the shape
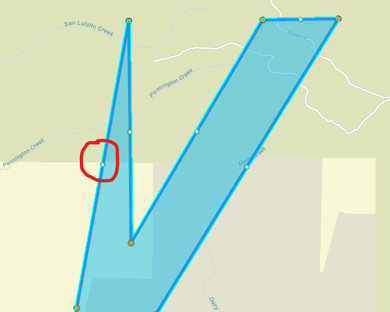
- Move the new point to adjust the shape as needed.
- Click Save Shape when you are done.
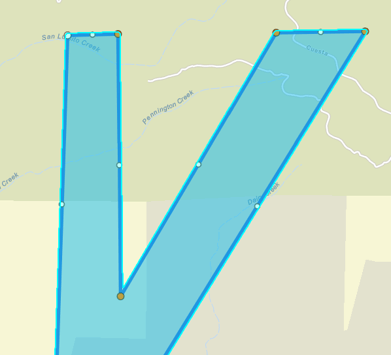
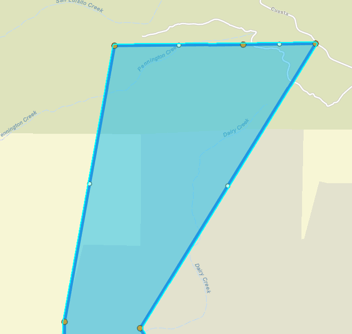
Moving Points on a Shape
- Double click the shape on the map view to active point editing.
- Hover over and click one or more of the orange dots that are now visible on the lines of the shape.
- hold the shift key to select multiple points.

- hold the shift key to select multiple points.
- After selecting the points you want to move, drag your mouse until the points are on the desired area of the map.
- Click Save Shape when you are done.
Removing Points from a Shape
- Double click the shape on the map view to active point editing.
- Hover over and click one or more of the orange dots that are now visible on the lines of the shape.
- hold the shift key to select multiple points.
- hold the shift key to select multiple points.
- After selecting the points you want to delete, use the delete or backspace key to remove them from the shape.
- Click Save Shape when you are done.
Simplify a Shape
- Select the shape you would like to modify
- Click the Shape Actions button within the shape editor menu
- Select the simplify action you would like to perform
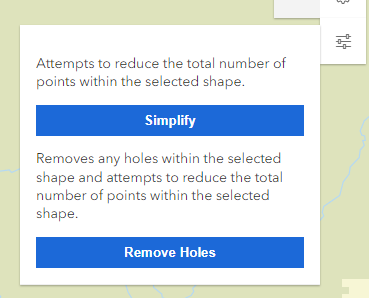
- Simplify Shape
- Simplifying a shape will help reduce the overall number of points within a shape and will also remove any holes/doughnuts within the shape.
- Remove Holes
- This action will remove any holes/doughnuts within the shape.
- Simplify Shape
- Continue to modify points within the shape if needed
- Click Save Shape when you are done.
How to Delete a Shape
- Click the shape on the map view to activate it.
- Once the shape is selected, use the delete button in the drawing tools menu, or either the delete or backspace key to remove the shape from the map.
- Draw your new shape.
- Click Save Shape when you are done.