Geofencing: Adding users from a Map
How to send an alert with Geo-Location Alerting. Add recipients to the alert form from a mapping tool.
1. Launch the application.
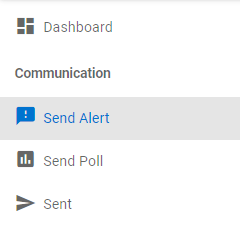
2. Navigate to “Send Alert.”
3. Scroll down to the “Recipients: Map Selection” field, and click the  button.

4. You’ll be taken to a new tab with a map view. From here, click into the layers panel ![]() in the upper right-hand corner.
in the upper right-hand corner.
5. Click into the layers panel on the right-hand corner to select the weather layers and location layers you want to see. Storm paths and Locations you choose will become displayed in the map view.
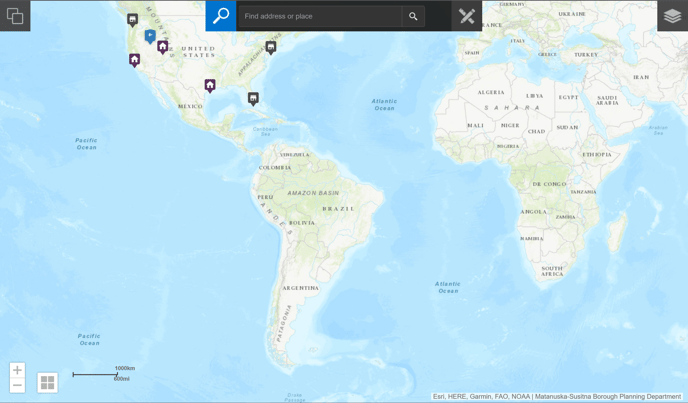
6. To add an alert location, click the pencil/ruler icon ![]() to open drawing options in the bar at the top of the map view.
to open drawing options in the bar at the top of the map view.
a. Select the drawing tool you want to use. Polygon is recommended.
.png?width=688&name=2021-10-01%20(2).png)
b. (optional) Create a name for the Area. The default is "Area 1."
Adding a name will be helpful if you choose to add multiple Areas on one map.
The Area will be added to the side panel, along with the estimated recipients in your shape. If the side panel is not updated, click the Areas ![]() button.
button.
7. Repeat steps 5-6 as needed.
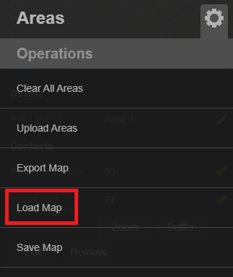
Click the optional "Save" button to name and save the map so that you do not have to go add the Areas again. You can access the map you've made through the “Load Map” option under settings.
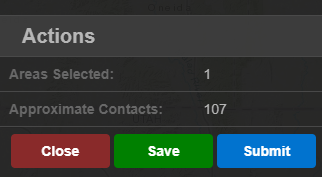
9. Click “Submit” to add the map Areas, and therefore the contacts inside the areas, to the alert form.
 10. Back on the alert form, the “Recipients: Map Selection” field should be populated with a small visual of the Area you added, and the numbers from the side-bar of the Area. These will be automatically checked, but this data can be edited.
You can edit these checks to send to different recipient layer types.
Deselect a checkbox if you don't want to send the alert to that layer type.
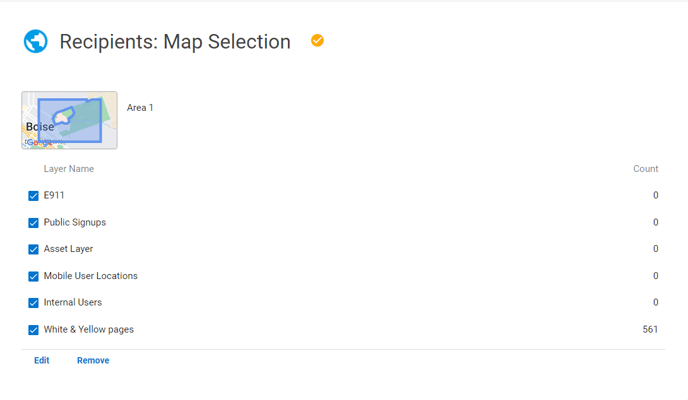
11. Continue building the alert, and send. The alert will be sent to everyone that is checked and within the Area of the “Recipients: Map Selection” field.
It's recommended to create a template with the geofencing completed if you know that you will regularly send this alert to this specific Area.
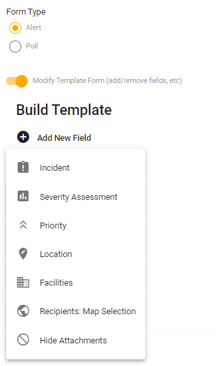
On a template, if the “Recipients: Map Selection” field is not already on the alert form, it can be added from the “Modify Template Form” toggle.
REMINDER: Always be sure to verify your alert details before sending.
