
- Navigate to: handweave.alertsense.com
- Use your existing Konexus login credentials to login
- Use your existing Konexus login credentials to login
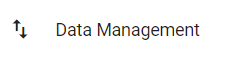
- Under “Settings” on the left hand navigation panel, select “Data Management”
- From here you will select what type of data you want to import (User, Facility, or Metadata).
- If this is an upload you have done before and have already mapped column names, please select the “Use Defaults if Available” checkbox.
- Click “Next”
- Upload your files through the “Upload Additional Files” option
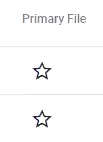
- Multiple files can be uploaded at once from your system. If you do, a primary file will need to be selected by clicking the star icon next to the file.
- Click “Import Selected Files” after upload is complete
- Multiple files can be uploaded at once from your system. If you do, a primary file will need to be selected by clicking the star icon next to the file.
- Map the file columns to known fields by clicking the dropdown menu and choosing the corresponding option.
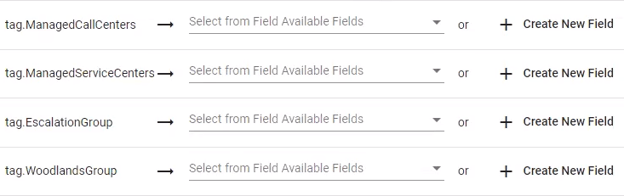
- If you had selected “Use Defaults if Available” you will not have to do this step as the mapping will be done automatically.
- You can create a new field with the “Create New Field” option If you do not see the option you are looking for in the dropdown menu
- Once all fields have been mapped, click “Next”
- Preview all expected changes and possible issues with any file imports.
- If there is an issue during the file import process, a message will appear where you can either ignore the error or cancel the import process.
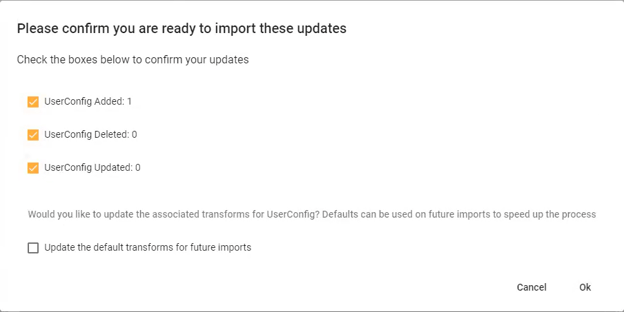
- You will need to look over what changes will be made and confirm them with the checkboxes.
- If you would like these settings to be used again for future uploads, please select the “Update the default transforms for future imports” option.
- If everything looks good, click “Ok”
- A page giving a summary of the changes again will show where you can preview what is being changed through the “Transformed File Preview” dropdown.
- If other types of data still need to be uploaded, please go back to the “Import Data” steps before moving onto “Build/Deploy Data”
- Once you have all your data uploaded go to “Build/Deploy Data”
- Check “Backup Existing Configuration” (checked by default) - in case you have to restore the data you are about to override.
- Click “Build Resources"
- It shows you a summary of all of the changes.
- If everything looks good, click “Go Back” > Then Click “Deploy”
**If something got deleted by accident, you can use the “Backup/Restore” function. First download, then upload, then run it, which will allow you to go back to a previous backup.**