Overview
Internal alerts can be sent to groups or individuals within your organization. Based on a user's role, their alert form may differ. The following covers the most common alert form used within the system.
Alert with Priority (Emergency or Non-Emergency):

Alert with Incidents: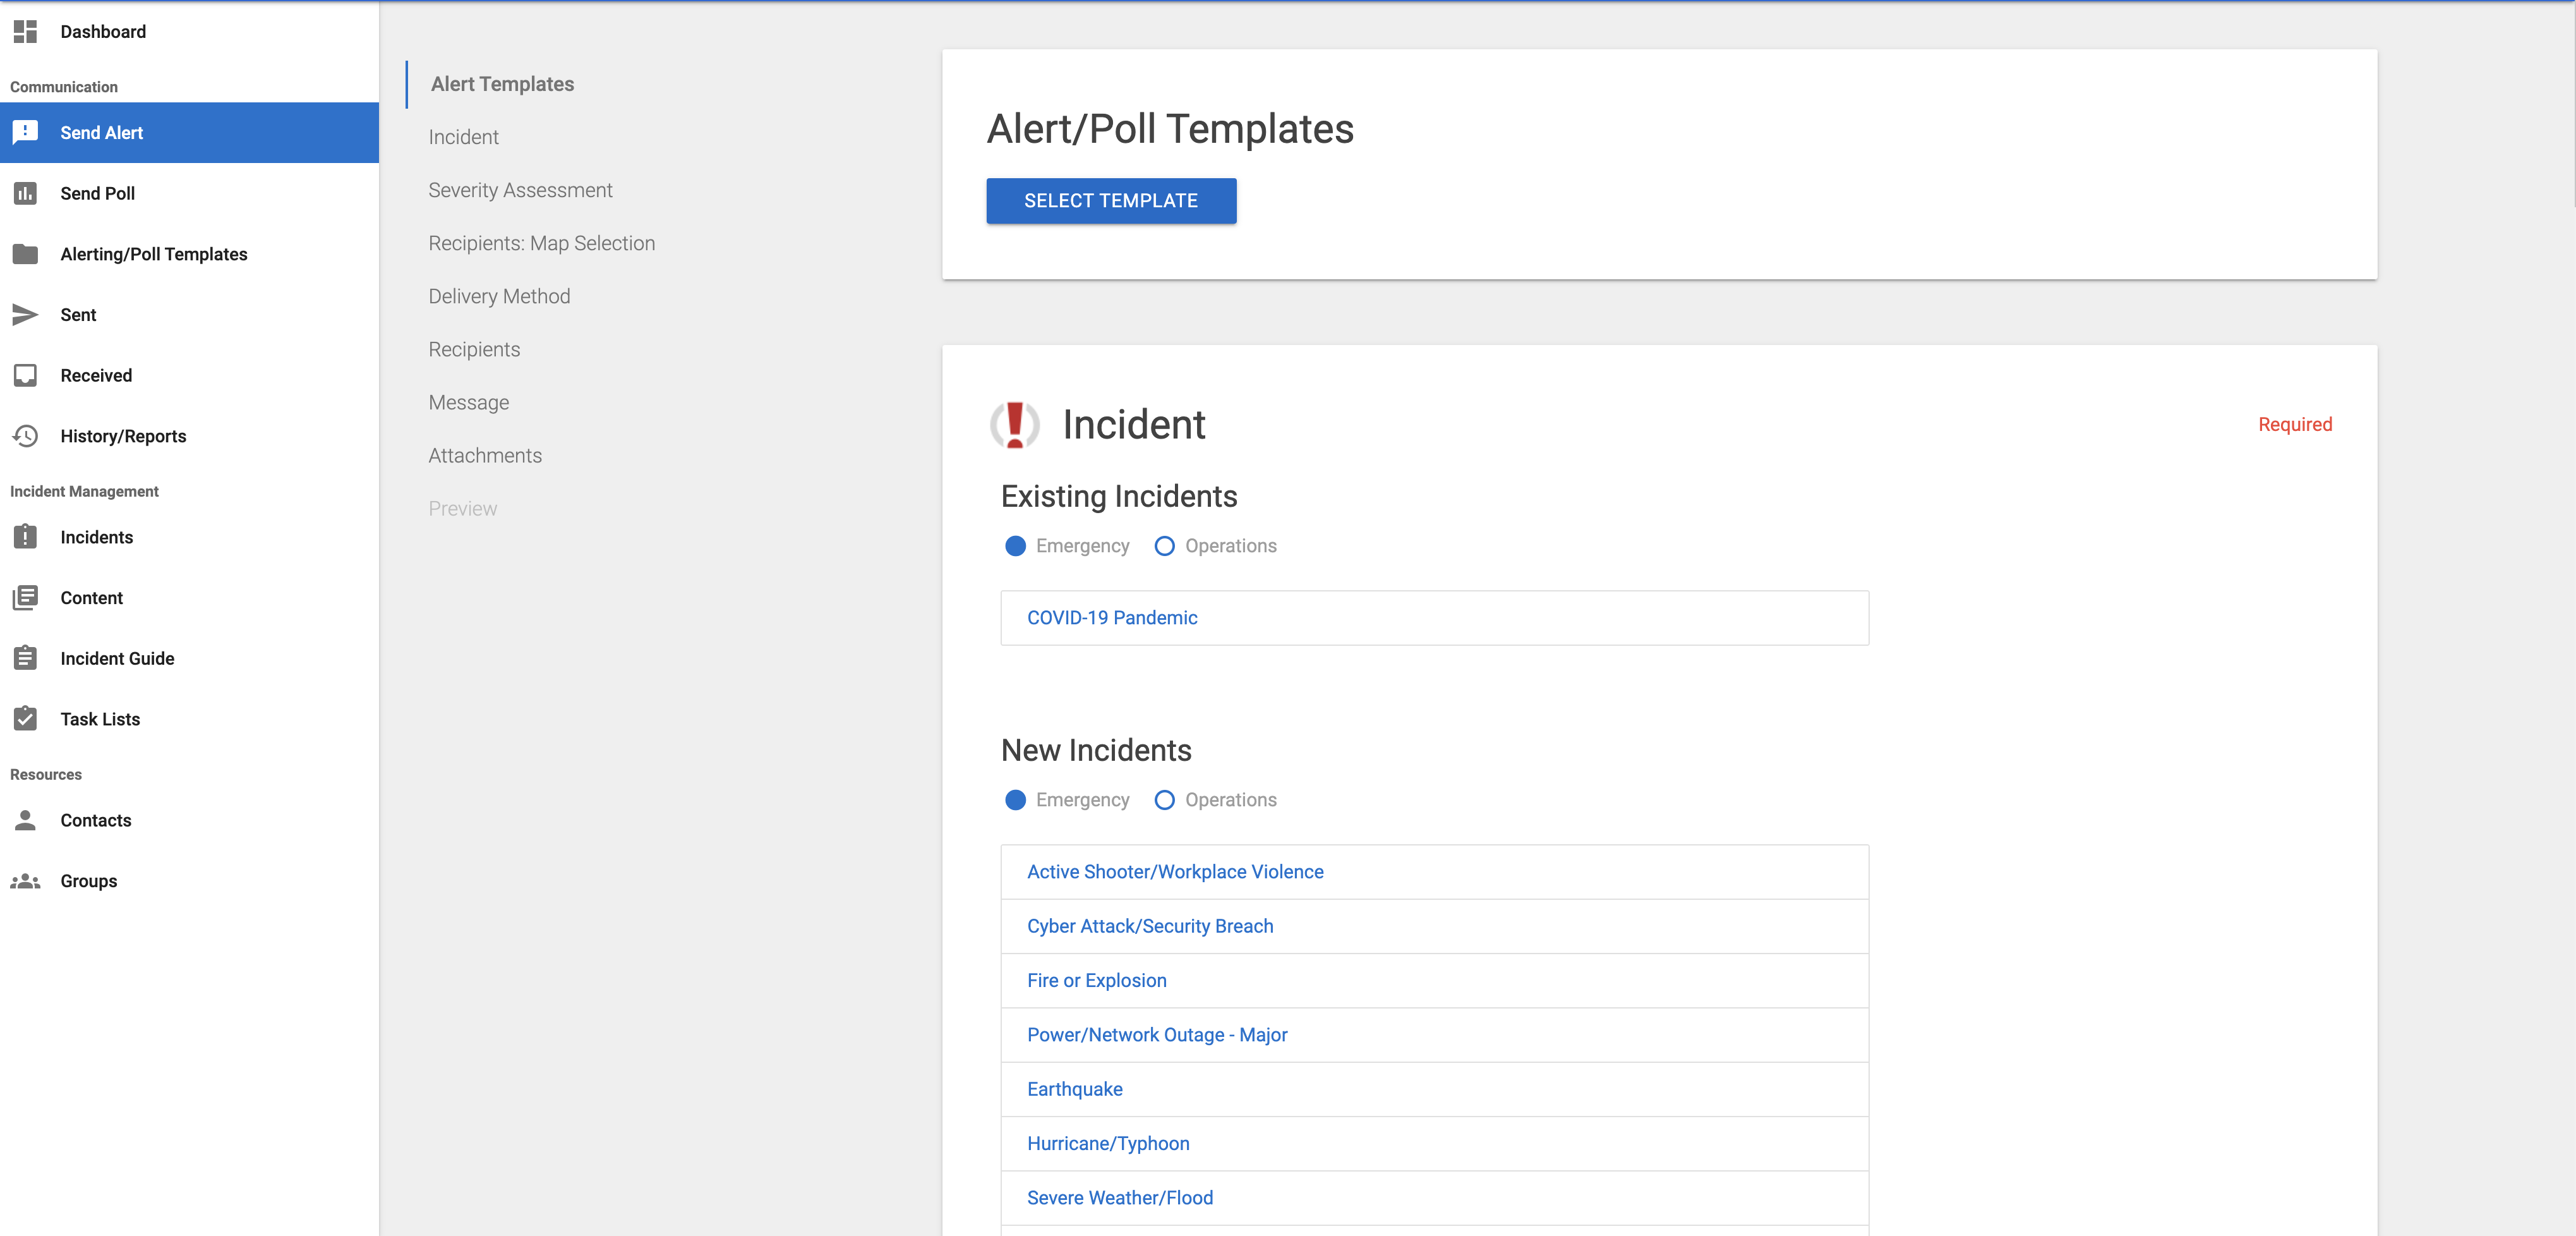
Alert Creation
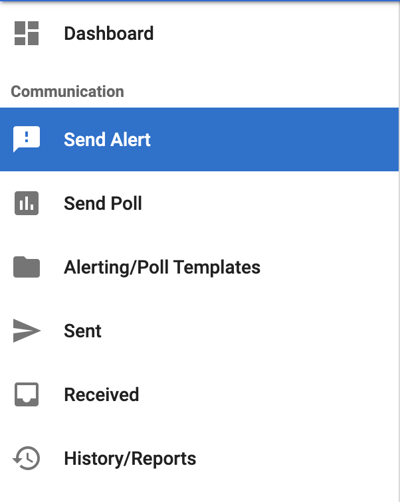
Step 1: Access the Send Alert Module
Select Send Alert from the left-hand navigation menu.
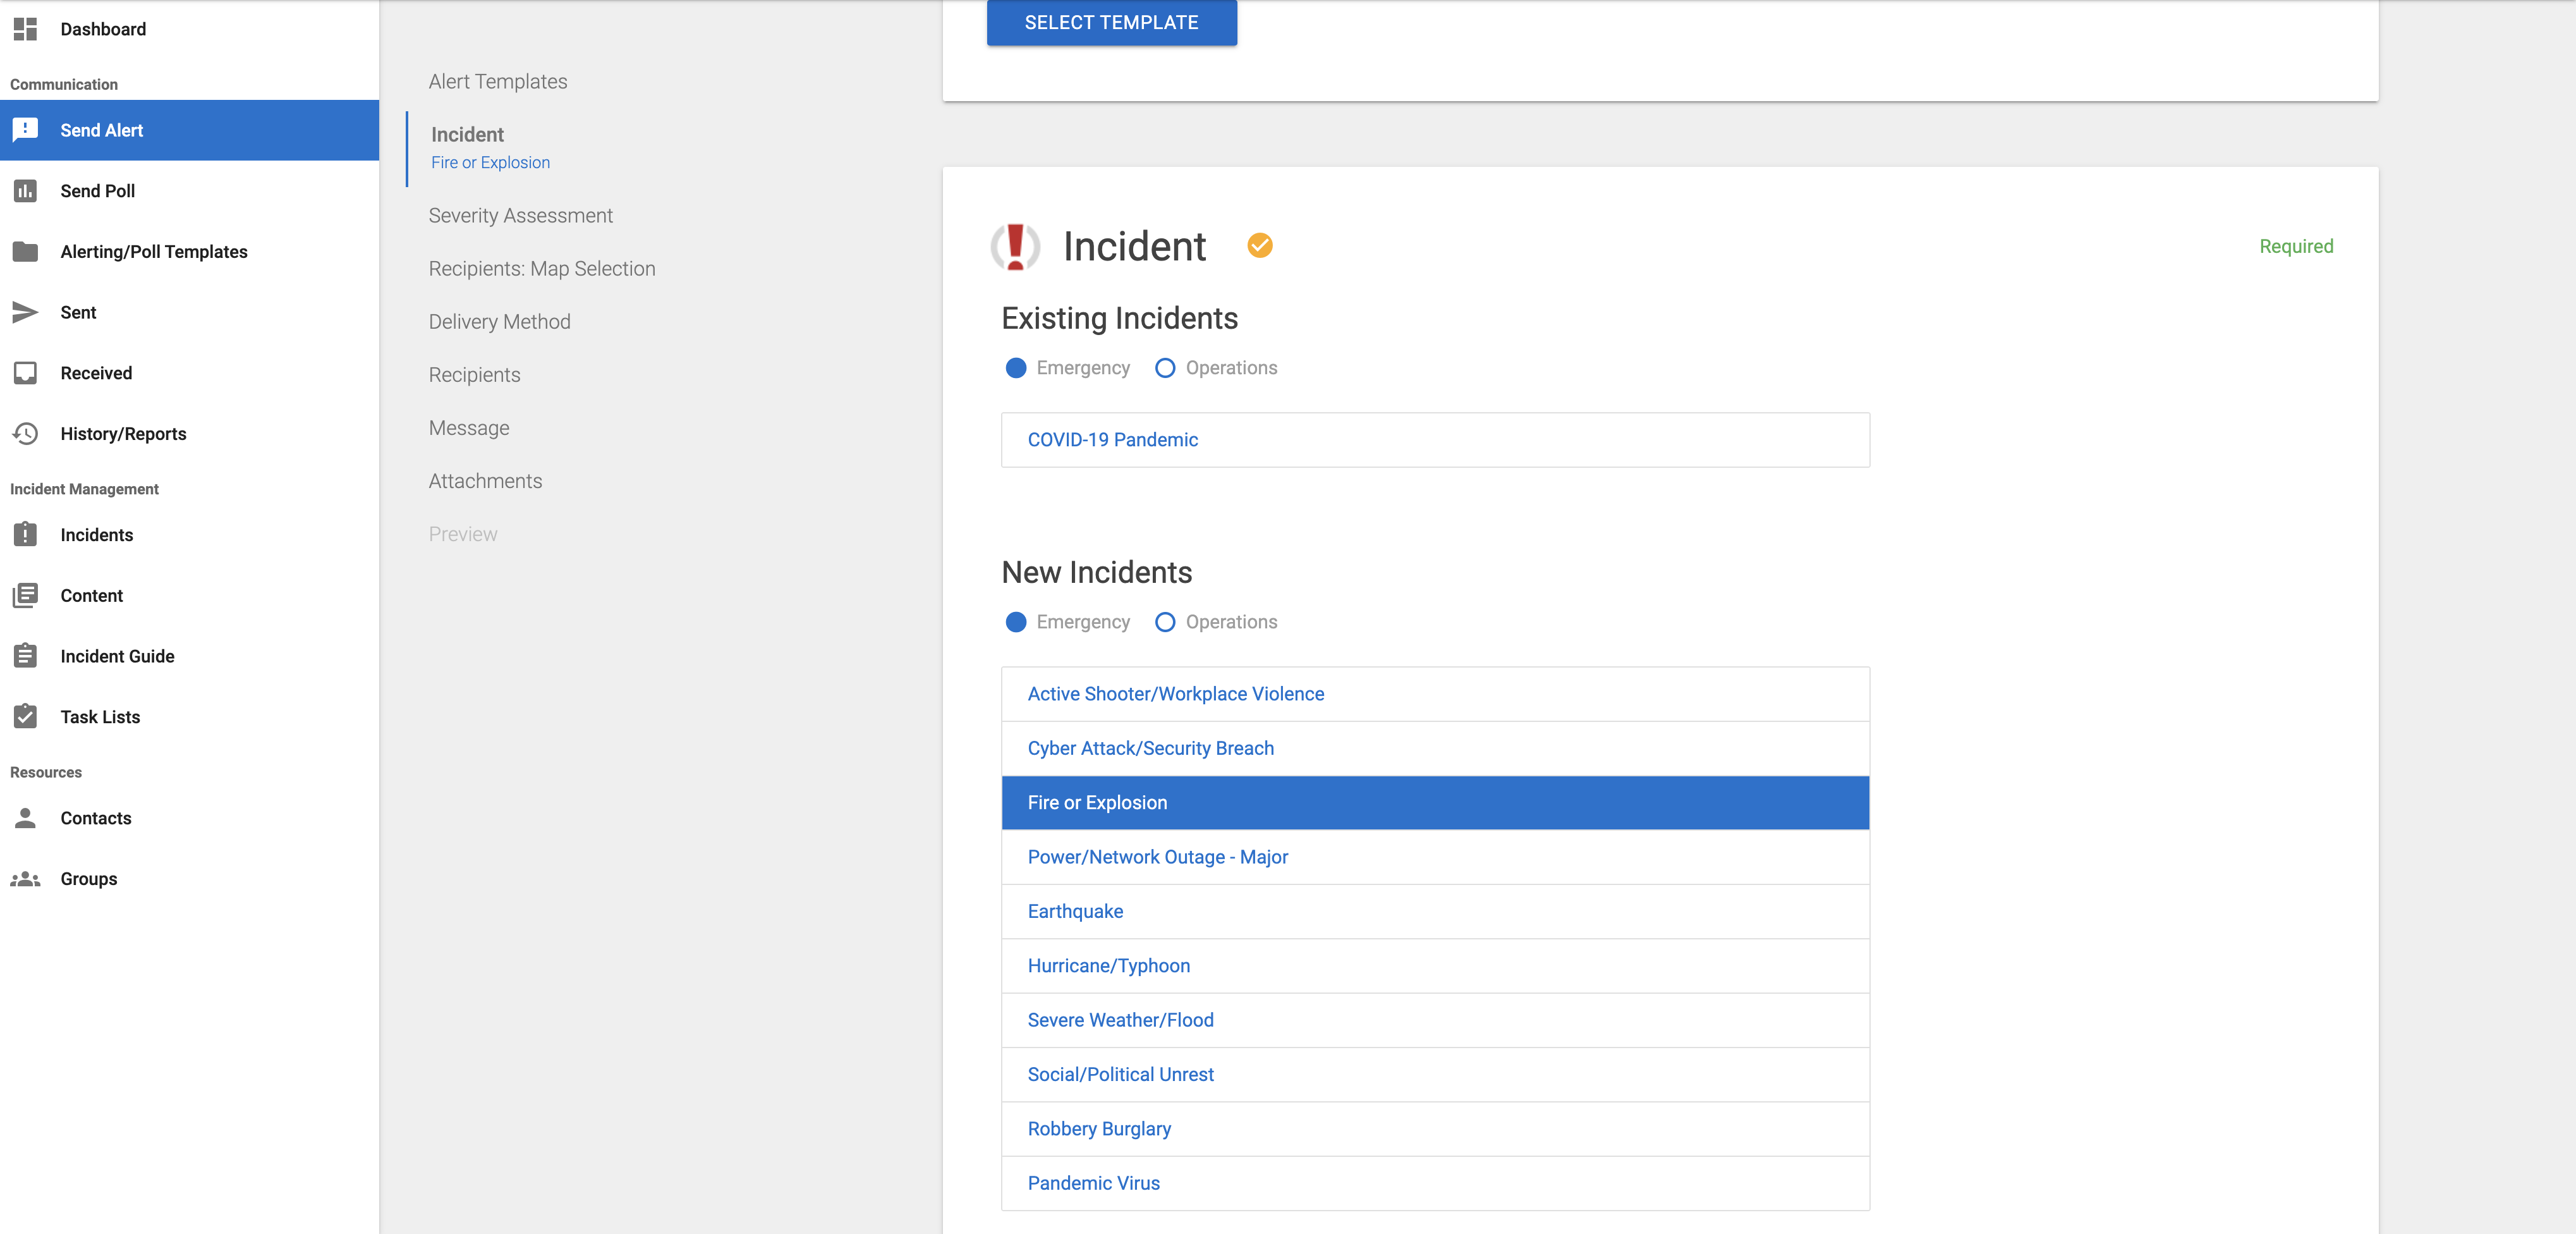
Step 2: Identify Incident Type (optional field)
In most cases, selecting the incident type is a mandatory field for agencies that utilize Incident Management. The incident type gives recipients further insight and information about the alert. Assigning an incident type also allows for more detailed reporting and filtering on alert history.
Incident types can be selected from either existing or new incidents.
- Select the incident that best fits the current situation.
- Optionally, users can select a template to pre-populate fields from the selected template.
- Not all users will have permission to select a template
- Not all agencies will have Incident Management enabled
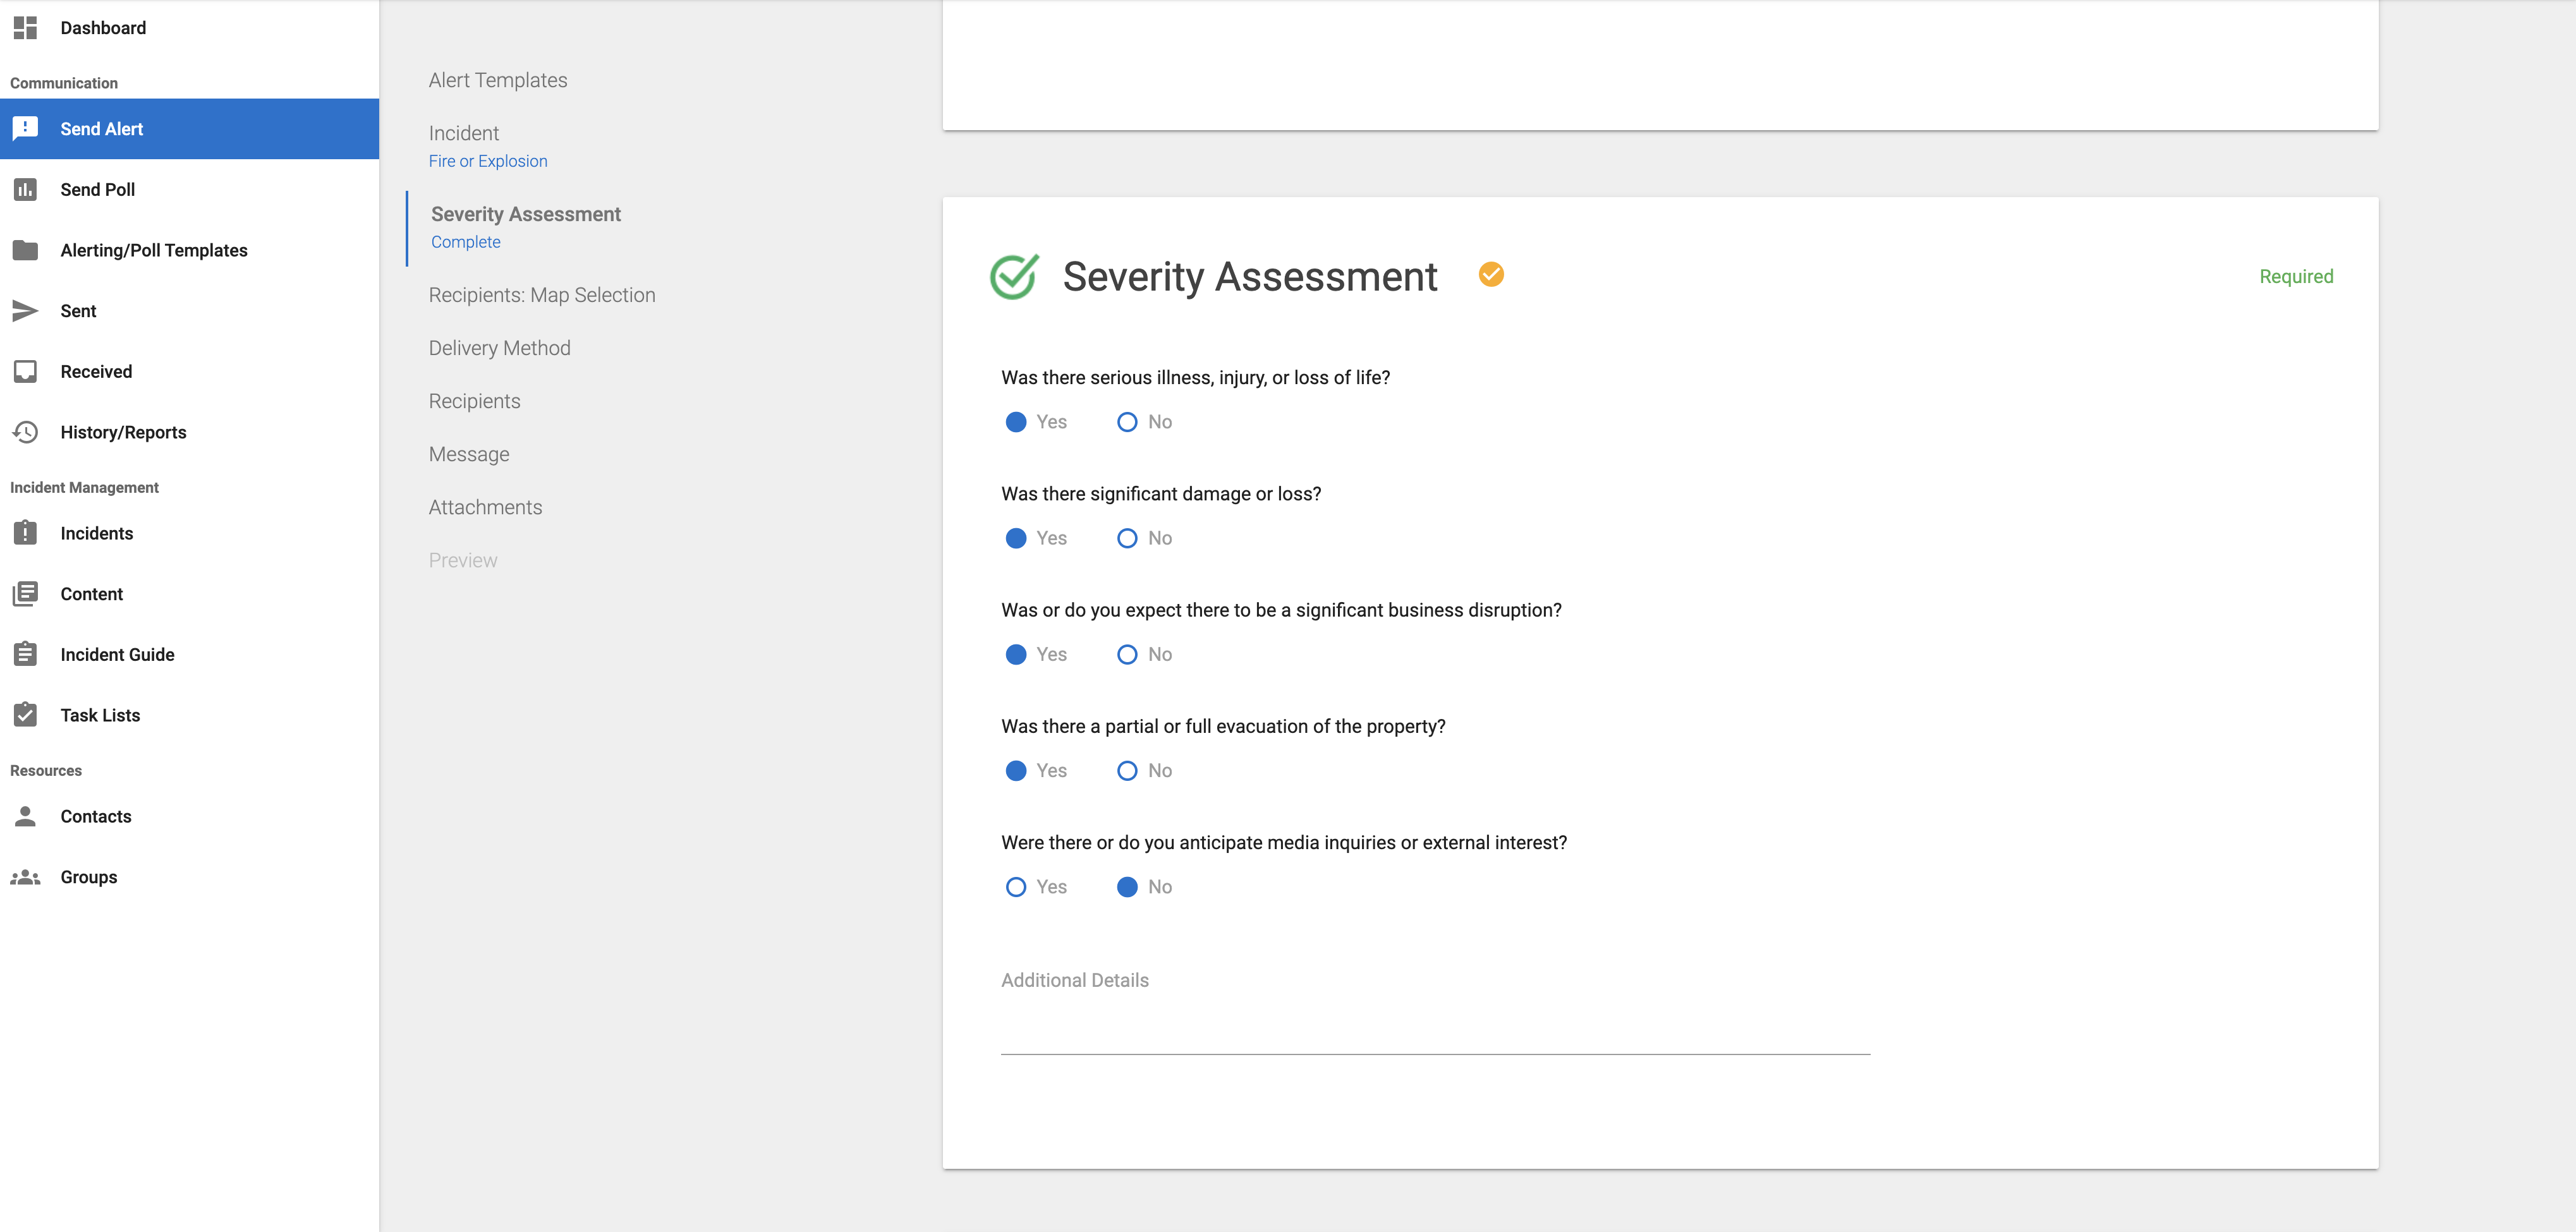
Step 3: Assess the Severity (optional field)
The Severity Assessment, similar to incident type, allows for recipients to quickly gather important information about the current crisis that is being reported. Generally, for emergencies, the Severity Assessment is required. Not all agencies utilized Severity Assessment.
- Answer all the questions on the assessment. Optionally, you can enter additional information at the bottom.
- If your agency does not use Severity Assessment, this section can be skipped and will not show on your alert form.
Step 4: Recipient Selection (required)
Recipients can be selected by either group or individual contact. Alerts require at least one contact.
- Some users may have auto-populated recipients based on their role. If this is the case, the recipient group will auto-populate on this card.
- Users can add to the pre-populated groups if desired.
- Pre-populated groups cannot be removed.

Step 5: Subject and Message (required)
The subject and message fields are both required to be able to send an alert. Fill out the subject even if it is pre-populated to be based on the type of alert you are sending. Use the Rich Text Editor to type in your message, add links or images.

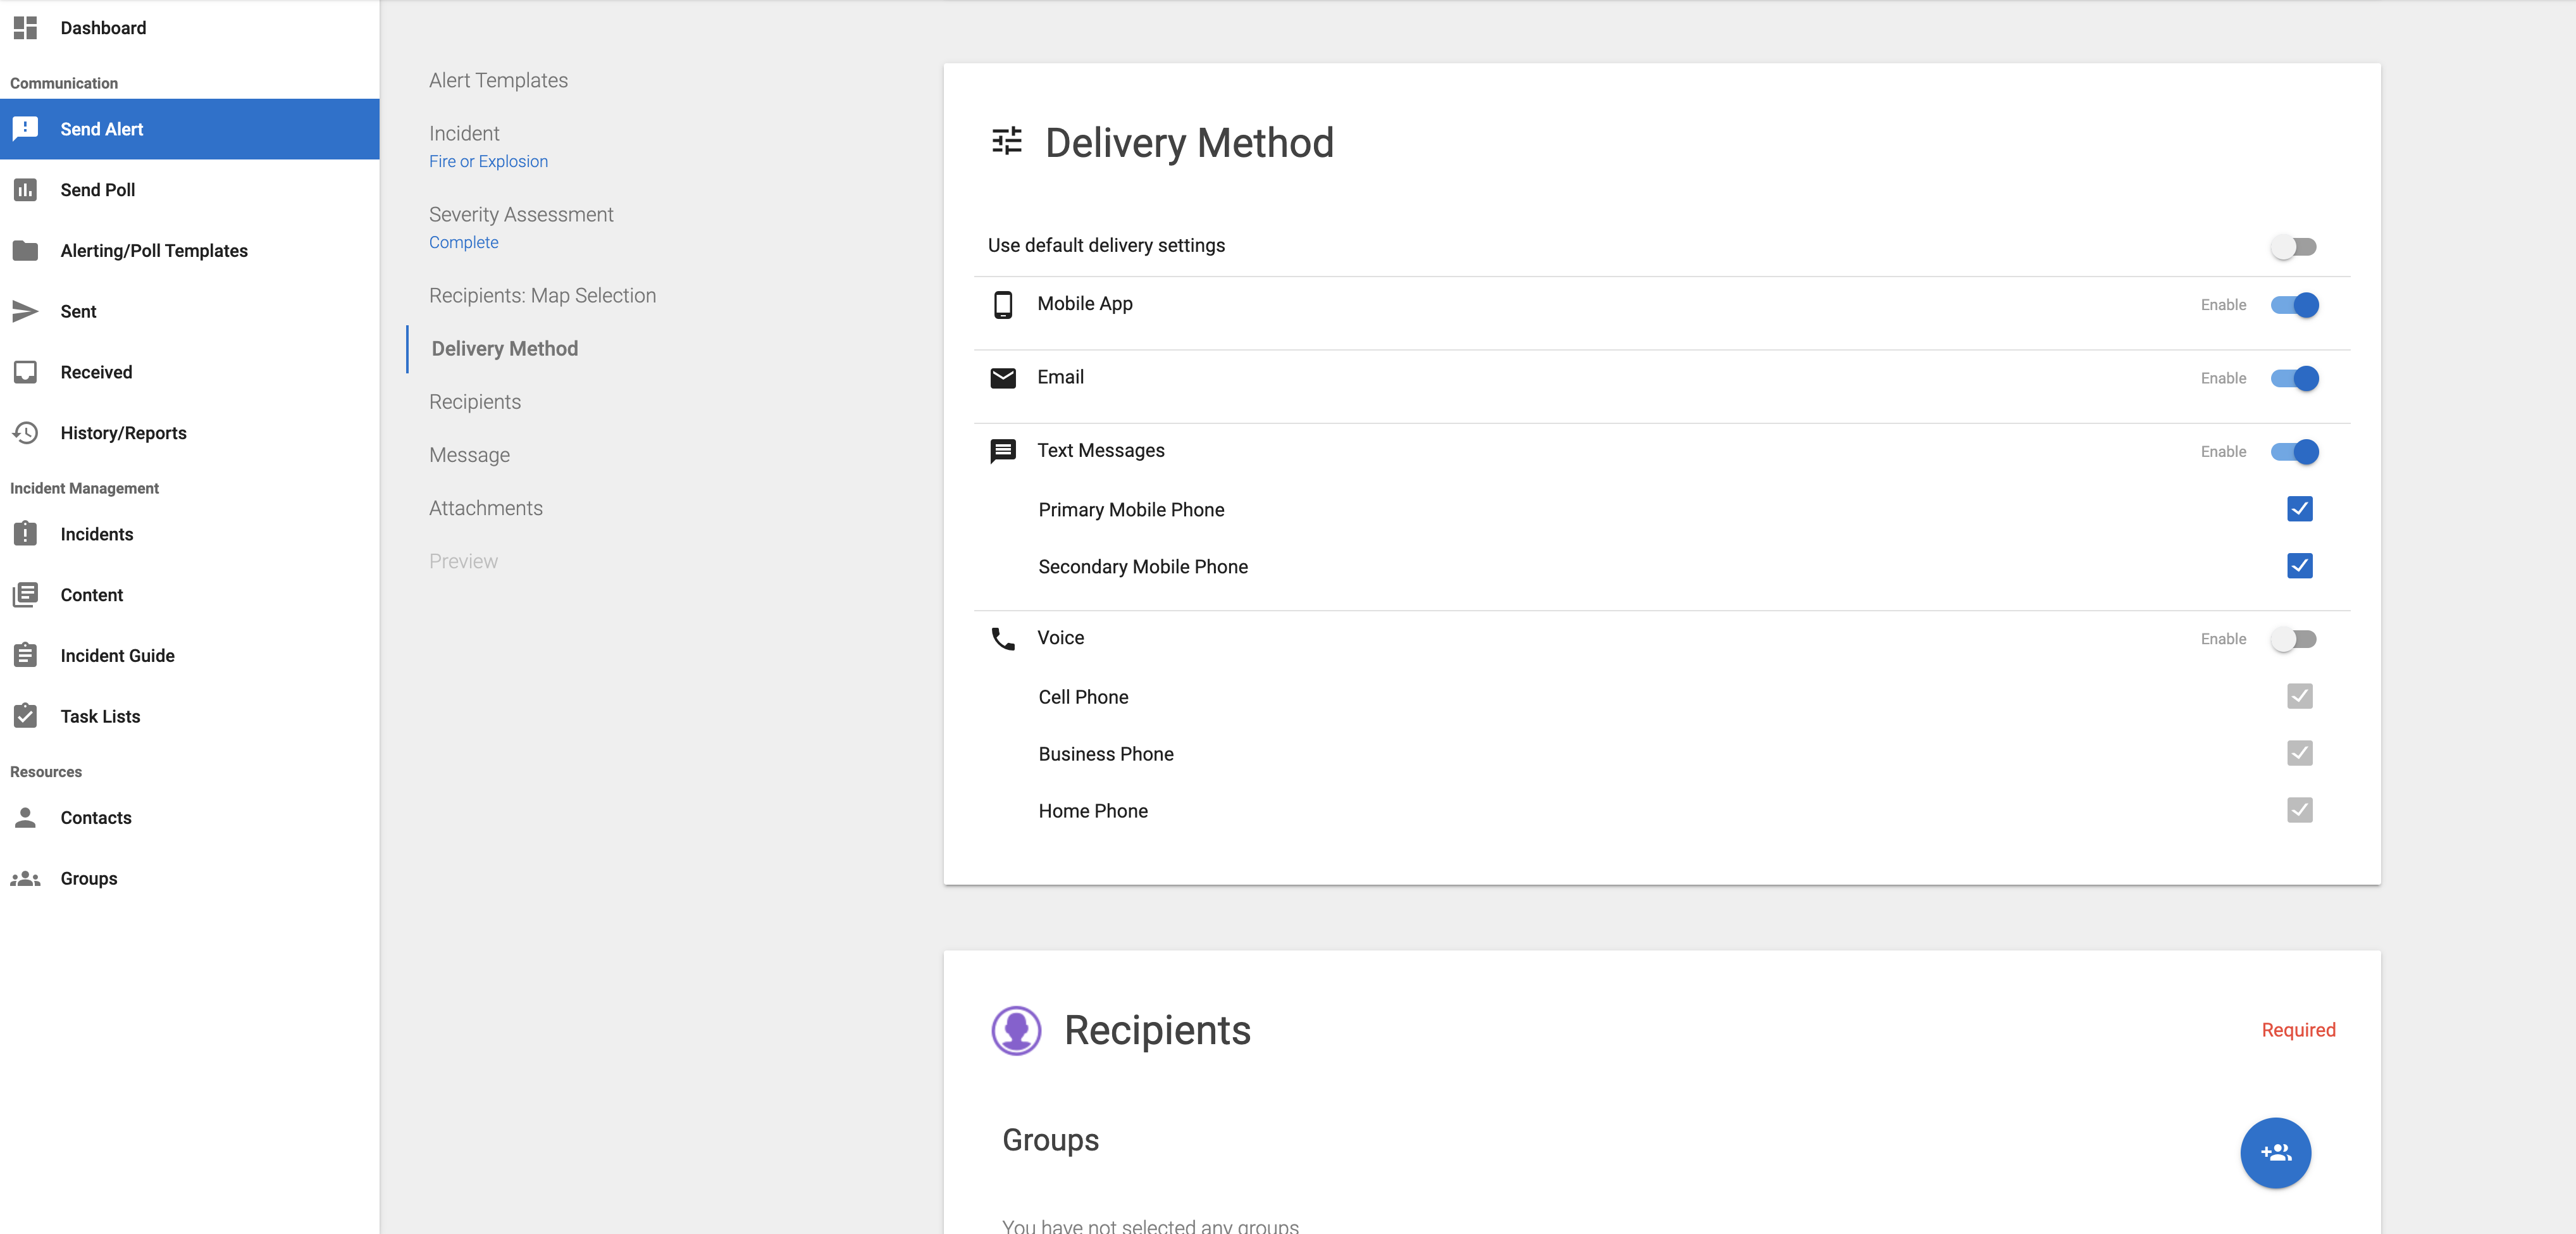
Step 6: Delivery Methods (required)
This part of the alert form allows users to adjust the channels that the alert will be sent through (mobile push, email, SMS, voice). The defaults that are set by your organization's admin will be assigned to the alert by default; however, this field allows users (that have permission to do so) to modify the channels to better target alert recipients.
- To modify the delivery methods, toggle the Use Default Delivery Settings off.
- This will expand the card and allow you to select/deselect any of the available alerting channels. If your agency uses Microsoft Teams Integration, you will see that channel here.
For internal alerts, mobile app, email and text are the default delivery methods and will automatically be selected. You can modify this at any time prior to sending an alert.
Step 7: Message Customization (optional)
This section allows users to customize the text message and voice message. In-browser voice recording is available.
You can listen to what your message will sound like text-to-speech or listen to your pre-recorded audio. If your agency has voice opt-out enabled, you will hear the message with the greeting and opt out message. Click Play Message Preview.


Step 8: Attachments (optional)
The attachments field allows users to attach any related images to their alert. Recipients will be able to view these images on both the mobile and web application.
To add an attachment:
- Select the Add Attachment button.
- Select the image file(s) that you would like to attach. These attachments will not be embedded and will require download by the recipients.
- Optionally, your alert can be scheduled for the future.

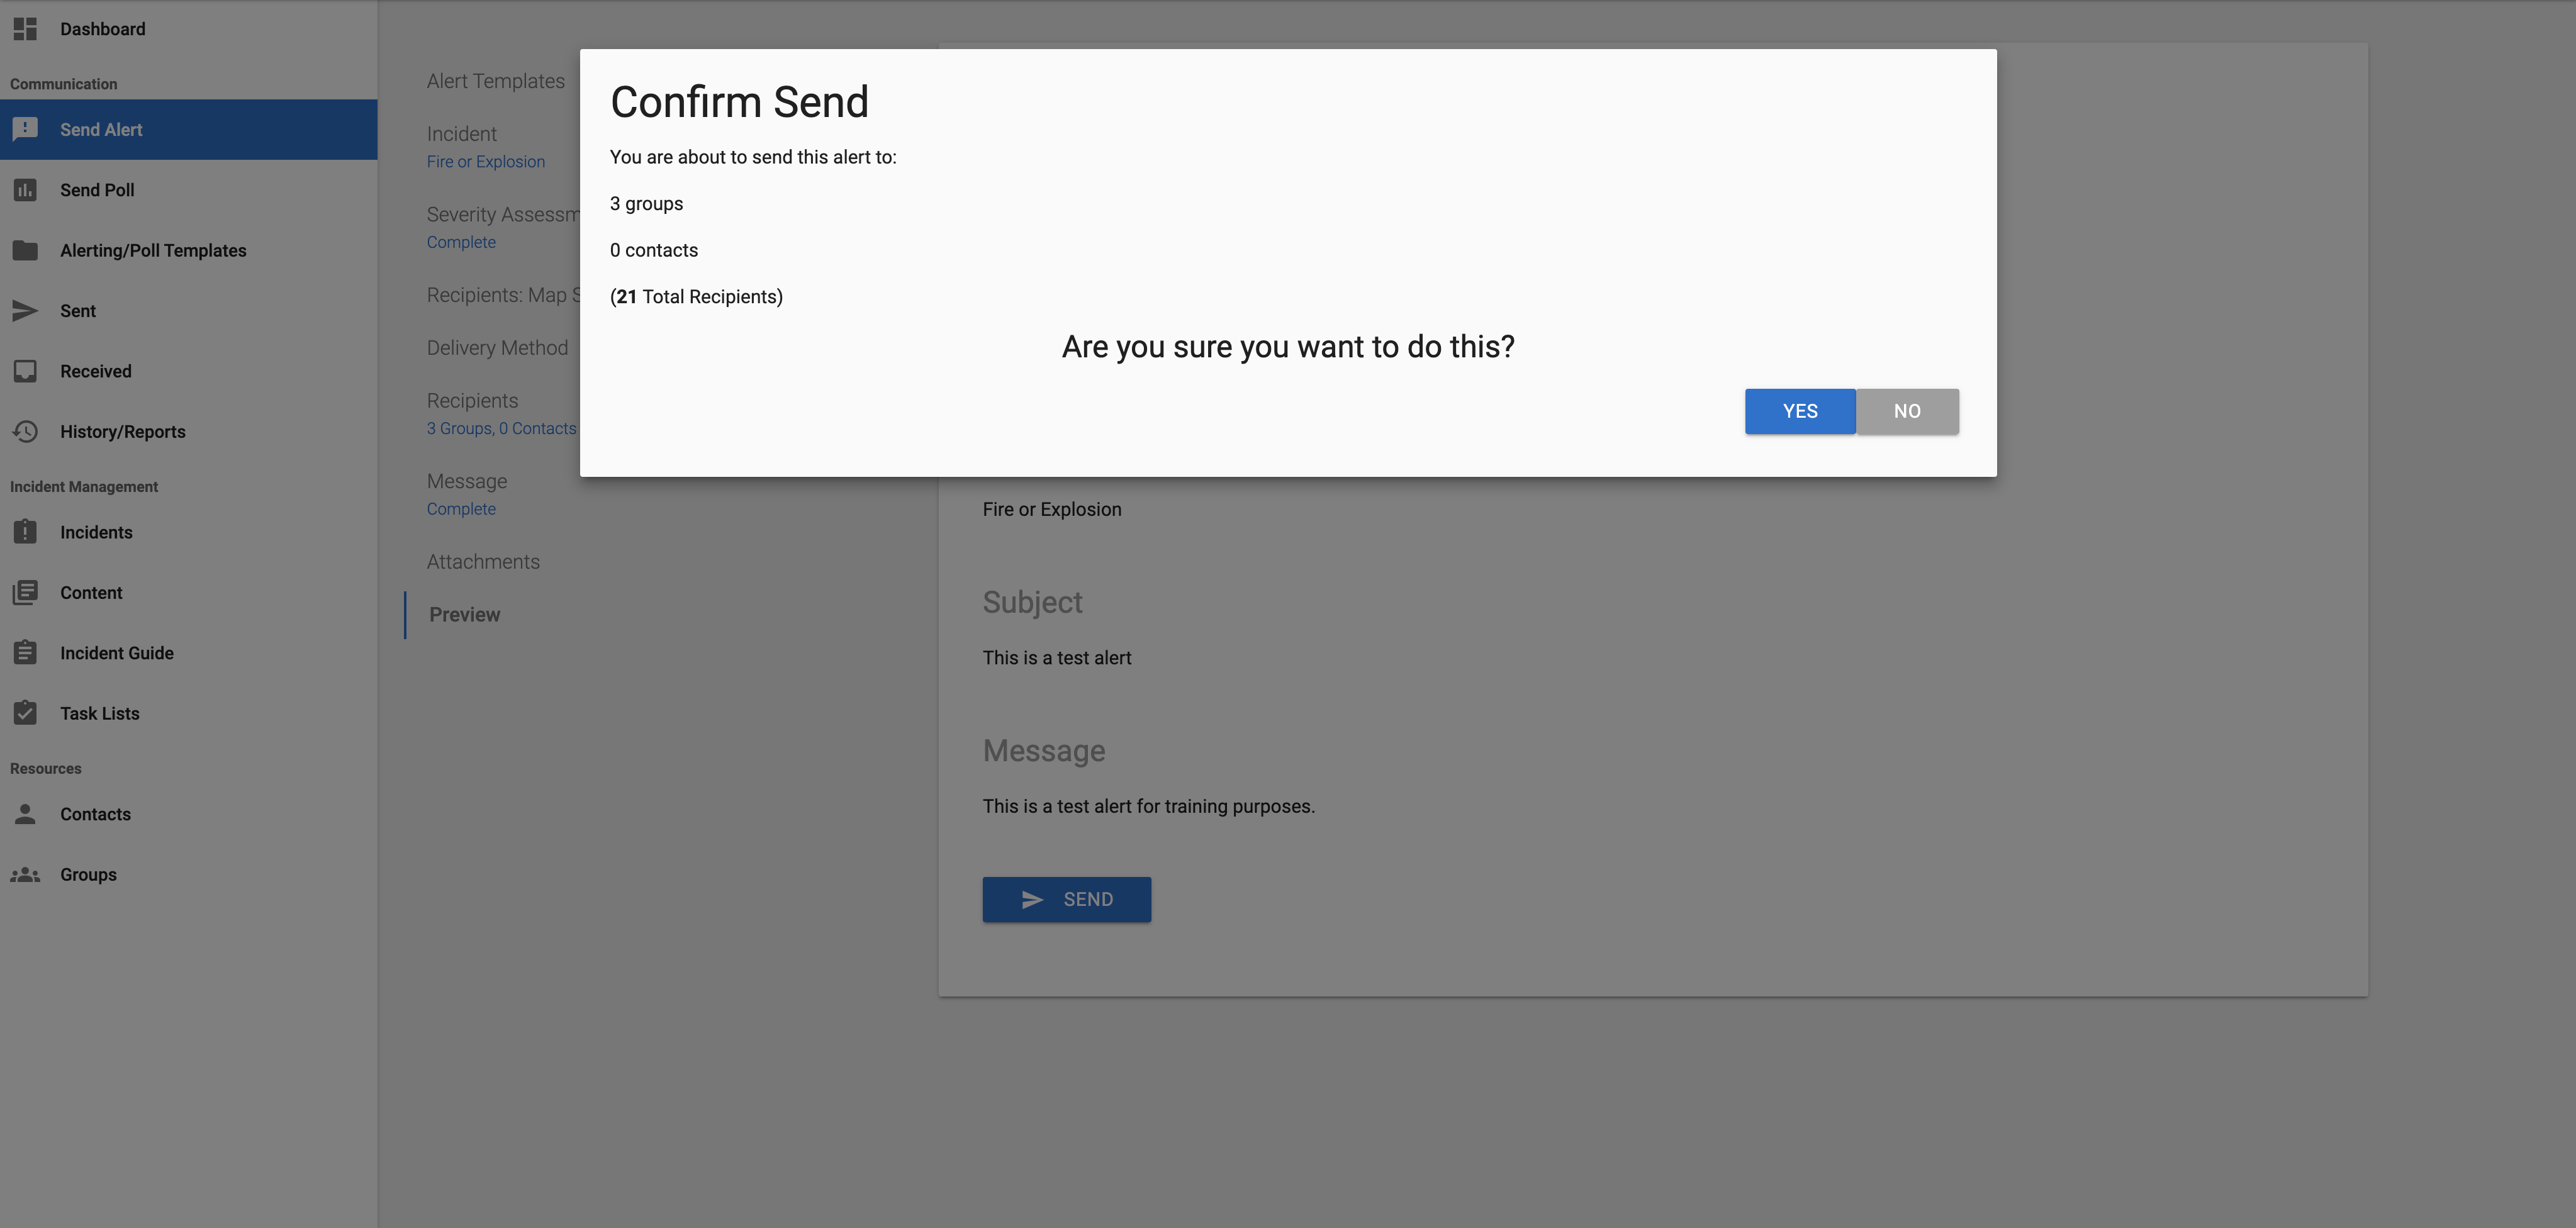
Step 9: Preview and Send (required)
The preview card allows the sender to preview the alert to ensure that all the entered information is correct. If there are any required fields that have not been completed, the preview card will notate which required fields are still incomplete (see previous screenshots for examples).
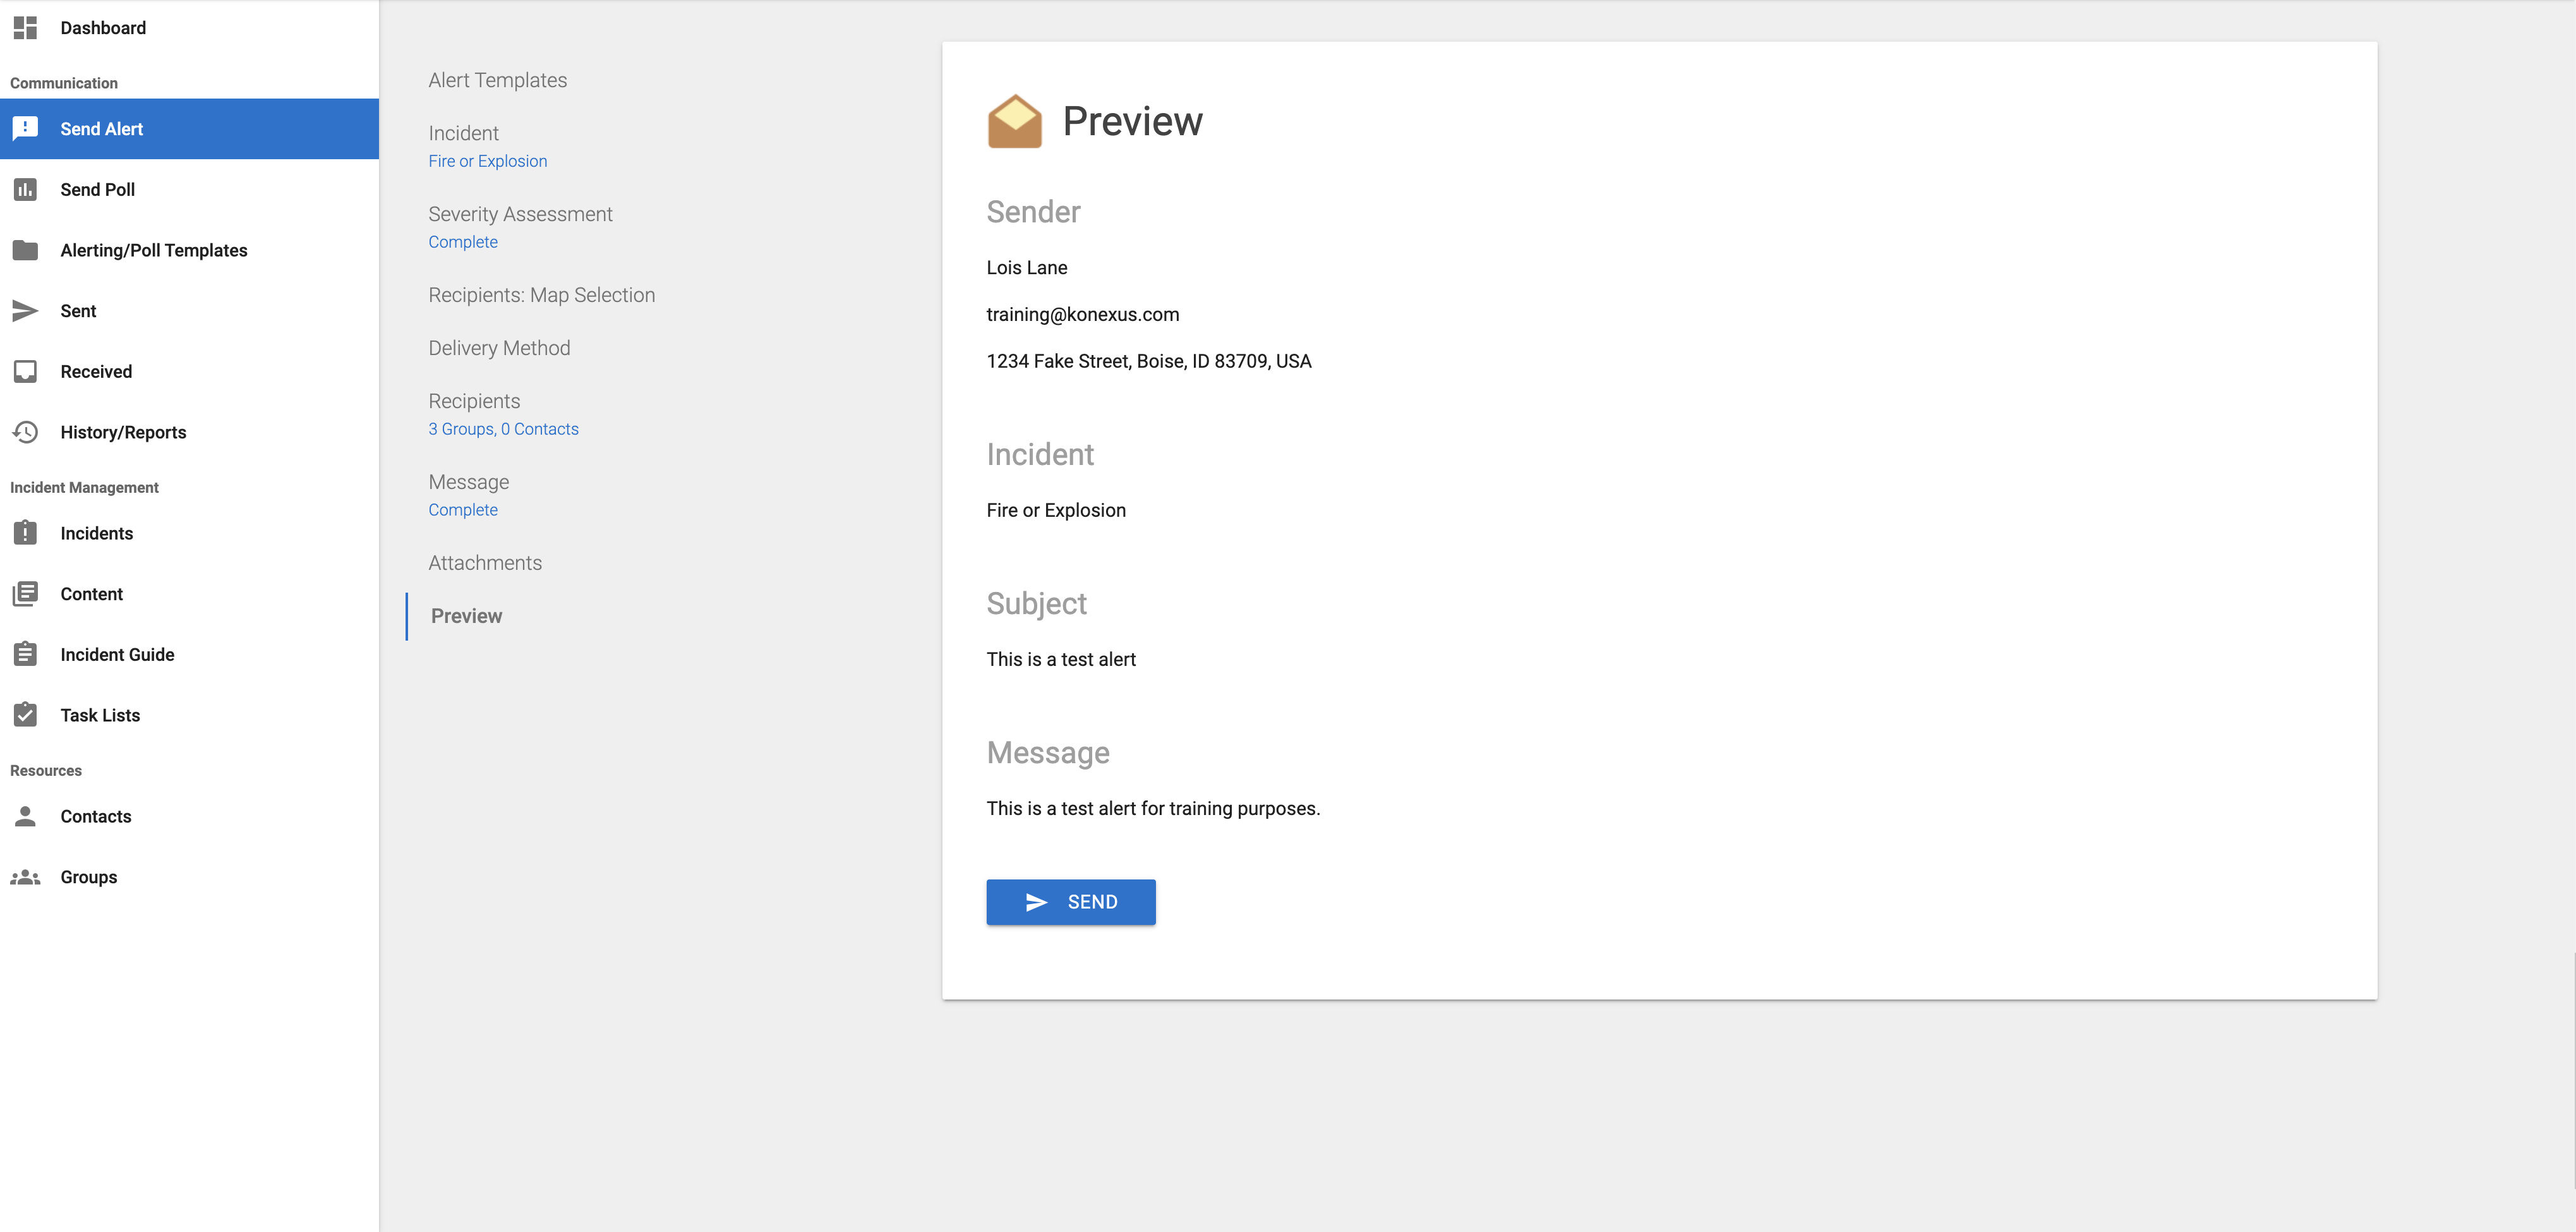
When you are satisfied with the alert preview and all required fields are complete, click the Send button. Users will be prompted to confirm the send action and can view the total recipient count before sending. Once they click Yes, the alert will be sent out. Once an alert is sent, it cannot be modified. You will also have the option to save this alert as a Template on this screen prior to sending if you have the permission in your Role.