Managing Custom Alert Forms
This article covers how to create and modify custom alert and poll forms.
Create a New Custom Alert Form
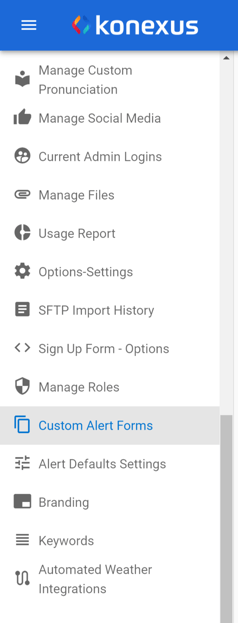
- From the left-hand navigation, select Custom Alert Forms under Settings.

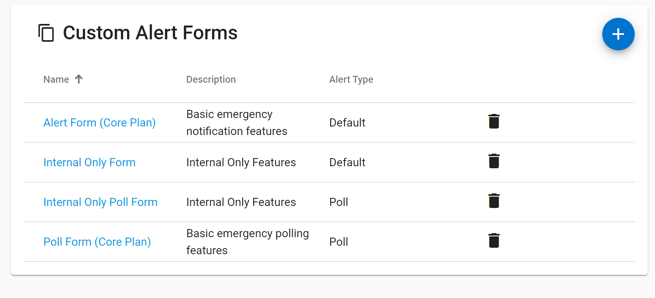
- Click the Blue Plus button
.png?width=34&name=2021-10-21%20(1).png) in the upper-right corner of the card.
in the upper-right corner of the card. - Enter a Form name and description.

- Select the form type: Alert or Poll.
.png?width=655&name=Screenshot%20(88).png)
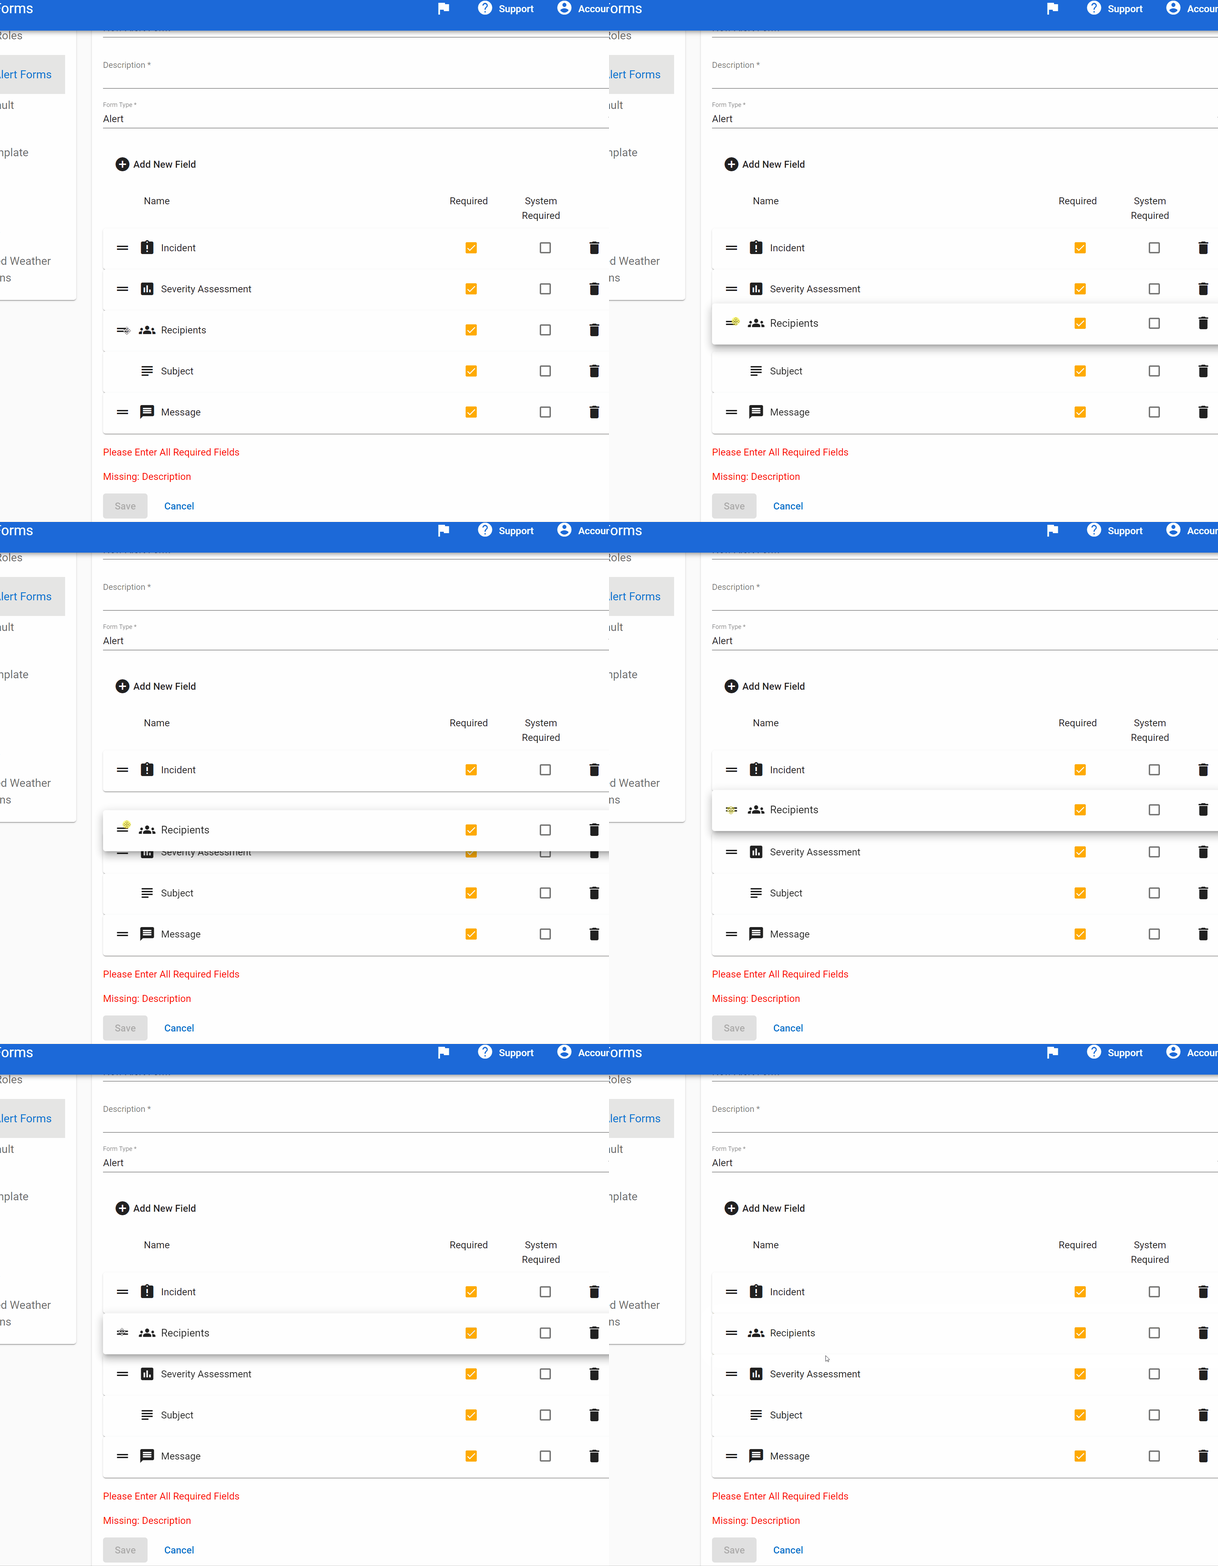
- Optionally, adjust the default fields' order or add a new field.
.png?width=655&name=apps-alertsense-com_(Nest%20Hub%20Max).png)
It is important to understand that when you reorder the fields, the Subject and Priority fields will remain linked to the Message field.
-
- Fields can be reordered by clicking and dragging the field cell.

- Field permissions
- Required: This will require that users enter a value for this field any time they send an internal alert or poll. Required fields will have a yellow checkbox next to the field name.
- To set a field as required, click the checkbox next to the field's name.
- Required: This will require that users enter a value for this field any time they send an internal alert or poll. Required fields will have a yellow checkbox next to the field name.
- Field Definitions
- Shared Fields - Available for both alert and poll forms.
- Incident: Allows for users to associate an incident type to an internal alert or poll.
- Severity Assessment: Allows users to complete the severity assessment. This is a simple yes or no questionnaire to provide alert recipients with further information.
- Priority: Allows users to indicate whether the message is for an Emergency or Non-emergency event.
- Template: Allows users to select from a list of alerting or poll templates.
- Recipients: Allows users to assign recipients to an alert and is always required.
- Subject: Adds the subject field to the alert form and is always required.
- Location: Allows users to attach their current location or a custom location to the alert.
- Facilities: Allows users to associate the impacted facility to an alert or poll.
- This is a permission-based field that is not available to all customers.
- Delivery Method: Allows users to adjust the channels that the alert or poll will be delivered through.
- Recipients: Map Selection: Allows users to send geofenced internal alerts to impacted facilities or traveling internal users who have opted into location-based alerts.
- This field is only available on the WebUI.
- Sender: Allows the sender to adjust the from name and email of an alert or poll.
- Attachments: Allows users to attach images to an alert or poll.
- Hide Attachments: When this field is included, the Attachments field disappears on the alert form in the web UI and the Attachments icon disappears in the mobile app.
- Alert Form Fields
- Message: Adds the message field to the alert form and is required for alert forms.
- Poll Form Fields
- Poll Question: Adds the poll question field to the poll form and is required for all poll forms.
- Poll Response Options: Adds the response options field to the poll form and is required for all poll forms.
- Shared Fields - Available for both alert and poll forms.
- Fields can be reordered by clicking and dragging the field cell.
- Click Save
.png?width=43&name=2021-08-24%20(5).png) to create your new form.
to create your new form.
Editing an alert form
- Select the desired form from the list by clicking the form's name.

- Edit the desired form values.
- Click Save to save your changes.
