myAlerts Mobile App for Public Subscribers | Stay Informed
This article covers how to use and set up the "MyAlerts" public mobile app.
Overview
The myAlerts public application is provided free-of-charge to any who would like to receive location-specific alerts. No sign-up is required, and no personal information is collected from this application other than the optionally-shared location of the mobile device running the application.
Alerts are typically weather (as originated from the National Weather Service), or government-issued (IPAWS) public notifications.
Users can add any number of interesting areas, as will be shown. Notifications of incoming alerts are handled according to preferences as set on the respective mobile device (audio, banners, etc.) and are customized for the app, not for individual areas selected in the application.
Where to Download
The mobile applications are available on both iOS and Android platforms.
Minimum Operating System for iOS: iOS 14.0. For Android: API level 26 (Android 8.0).
Application Usage
Adding Locations
Enter “Locations” (bottom center menu). You can switch Monitor Current Location on or off. The current Location is on/off (on shown below). Press Plus symbol ![]() to add location.
to add location.
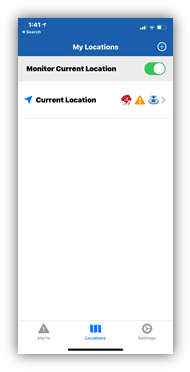
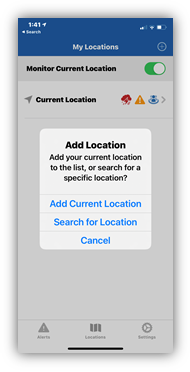
Locations can be added by searching or by the current GPS setting if shared in the Privacy of the phone.
In searching for places, recommendations are given with typed entries to match the government’s pre-defined regions. In this example, Manhattan KS is found, then proposed, then "SAVED":
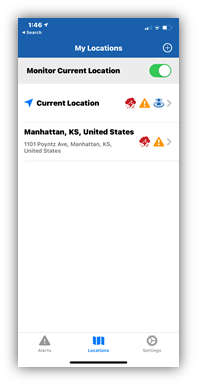
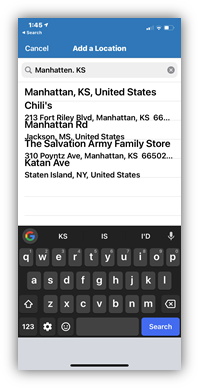
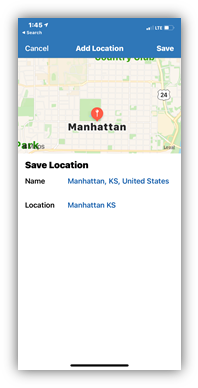
After being saved, the location is added to the list of “My locations.” “Current Location” is always shown at the top, unless disabled via the slider shown.
Adjusting Application Settings
Settings are chosen with the “gear” emblem at the bottom right. In the current release, settings apply only to the hours of alerting, apply to the entire app, and are not customizable per location.
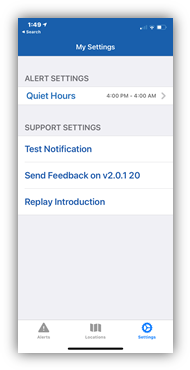
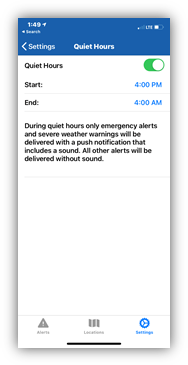
Quiet Hours
This customization allows further refinement of acceptable time windows. Note that the device’s “Privacy Settings” will override things here, if disabled for general notifications.
On this “Settings” page, there are also selections to give feedback and test the proper installation.
Viewing Alerts
As alerts arrive, they will show up according to device preferences. Generally, allowed banners look like other banners, with the MYALERTS notice:
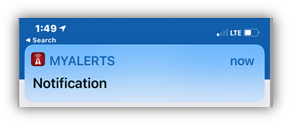
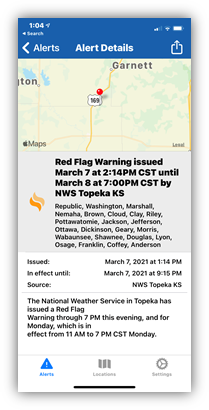
Touching the notification banner brings up the most recent alert with all details, like this:
Alert History
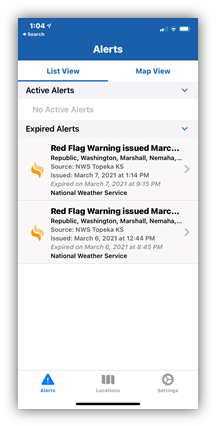
Alerts can be seen via two different views: “List View” or “Map View.”
List View
A list of alerts is shown, split into Active and Expired. The move from “Active” to “Expired” is automatic and handled by the information contained in the alert itself.
Under Map View, the screen switches show a map that is immediately centered on the current location of the device’s GPS. If this is different from the area of the alert, there may be no alert actually being shown on Map View.
Icons & Meaning
Throughout the application, there are three icons that represent the type of notification received:
These indicate:

-
National Weather Service
- Governmental Emergency Notification
- Community Alert


