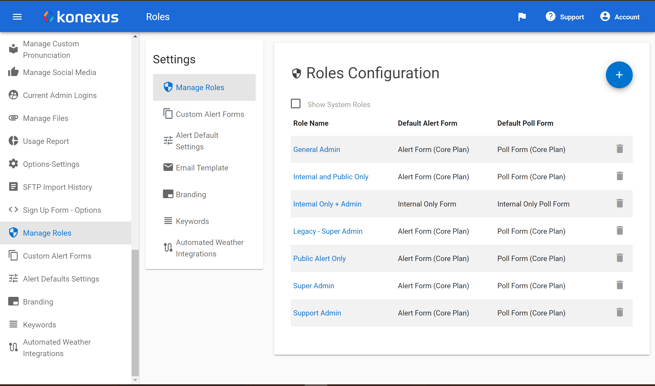
Creating a Role
- From the navigation drawer or the left-hand Settings navigation, select Manage Roles.
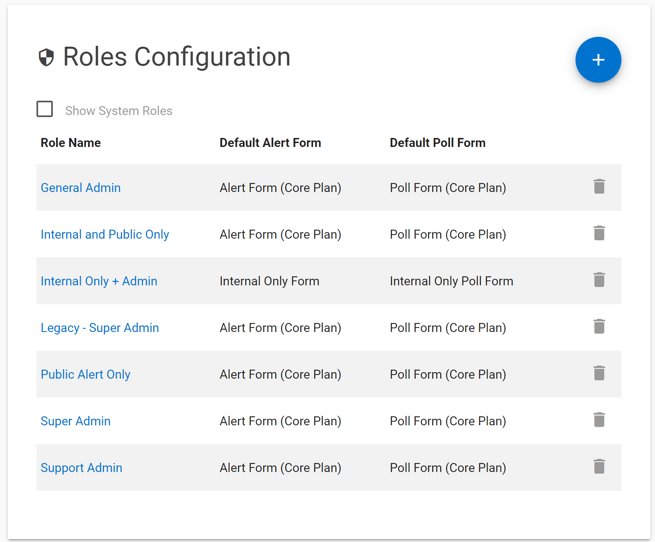
- Click the Blue Plus in the top right corner of the card.
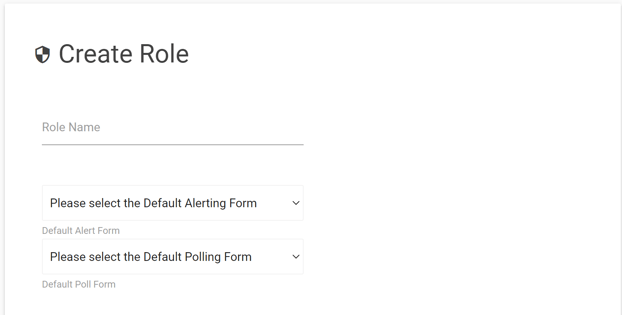
- Enter a Role Name.
- Role names are limited to a maximum of 24 characters.
- Role names are limited to a maximum of 24 characters.
- Select a Default Alerting and Poll Form from the drop-down menus.
- If you need to create a new form, please see the documentation related to creating a new Custom Alert Form.
.png?width=622&name=Screenshot%20(87).png)
- If you need to create a new form, please see the documentation related to creating a new Custom Alert Form.
- Assign Role Permissions.
- Select the checkbox next to individual permissions you want users to receive to assign individual permissions.
- Select the box next to the permission set's title to assign all permissions associated with the set.
- Please see the overview of admin permissions.
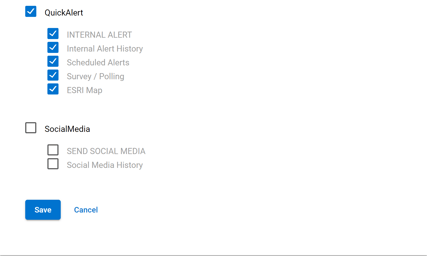
- Click Save to save the new role.
Editing a Role
- Select the desired role.
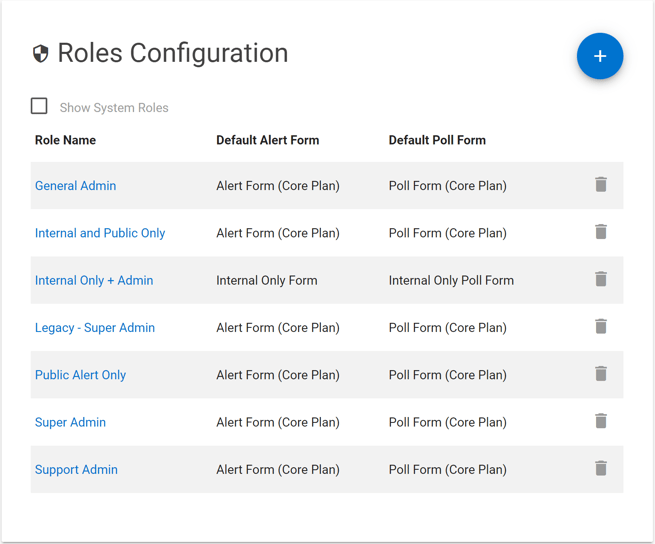
- Edit any desired information.
- Click Apply to save the edits to your role.
Please note that if you change the role name, the system will update any users associated with that role.
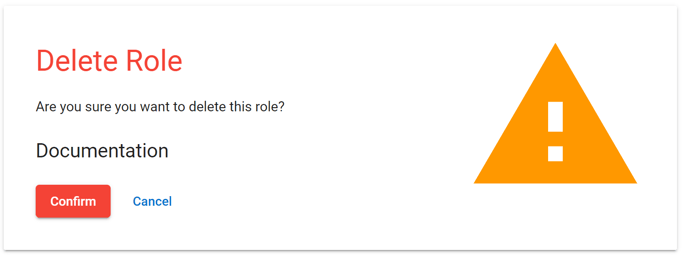
Delete a Role
- Select the Delete icon
 located next to a role's name to delete that role.
 - Confirm that you want to delete the selected role.