Overview
Polls can be sent to groups or individuals within your organization. Based on a user's role, their poll form may differ. The following covers the most common poll form used within the system.
Poll Creation
Step 1: Access the Send Poll Module
- Select Send Poll from the drawer menu.
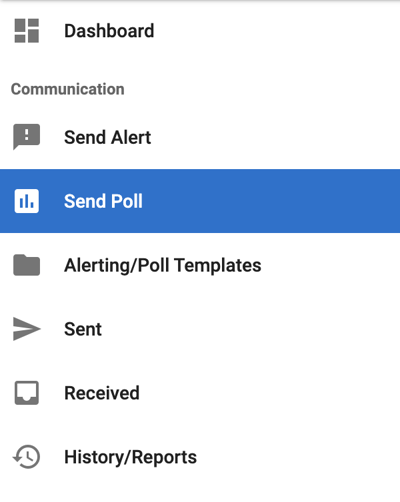
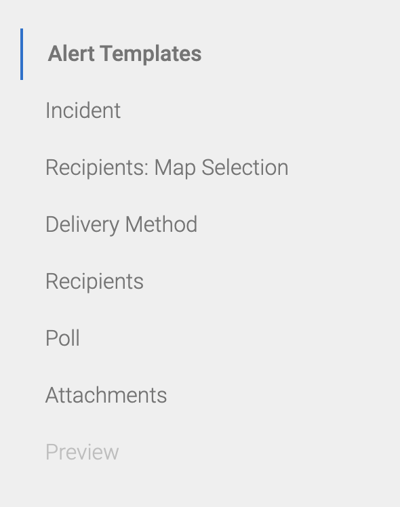
After navigating to the Send Poll page, an additional navigation menu will be on the left side of the screen. This is the outline of the Send Poll Form that is assigned to the user's role. As the user completes the poll form, the selected values will populate here as a reference.
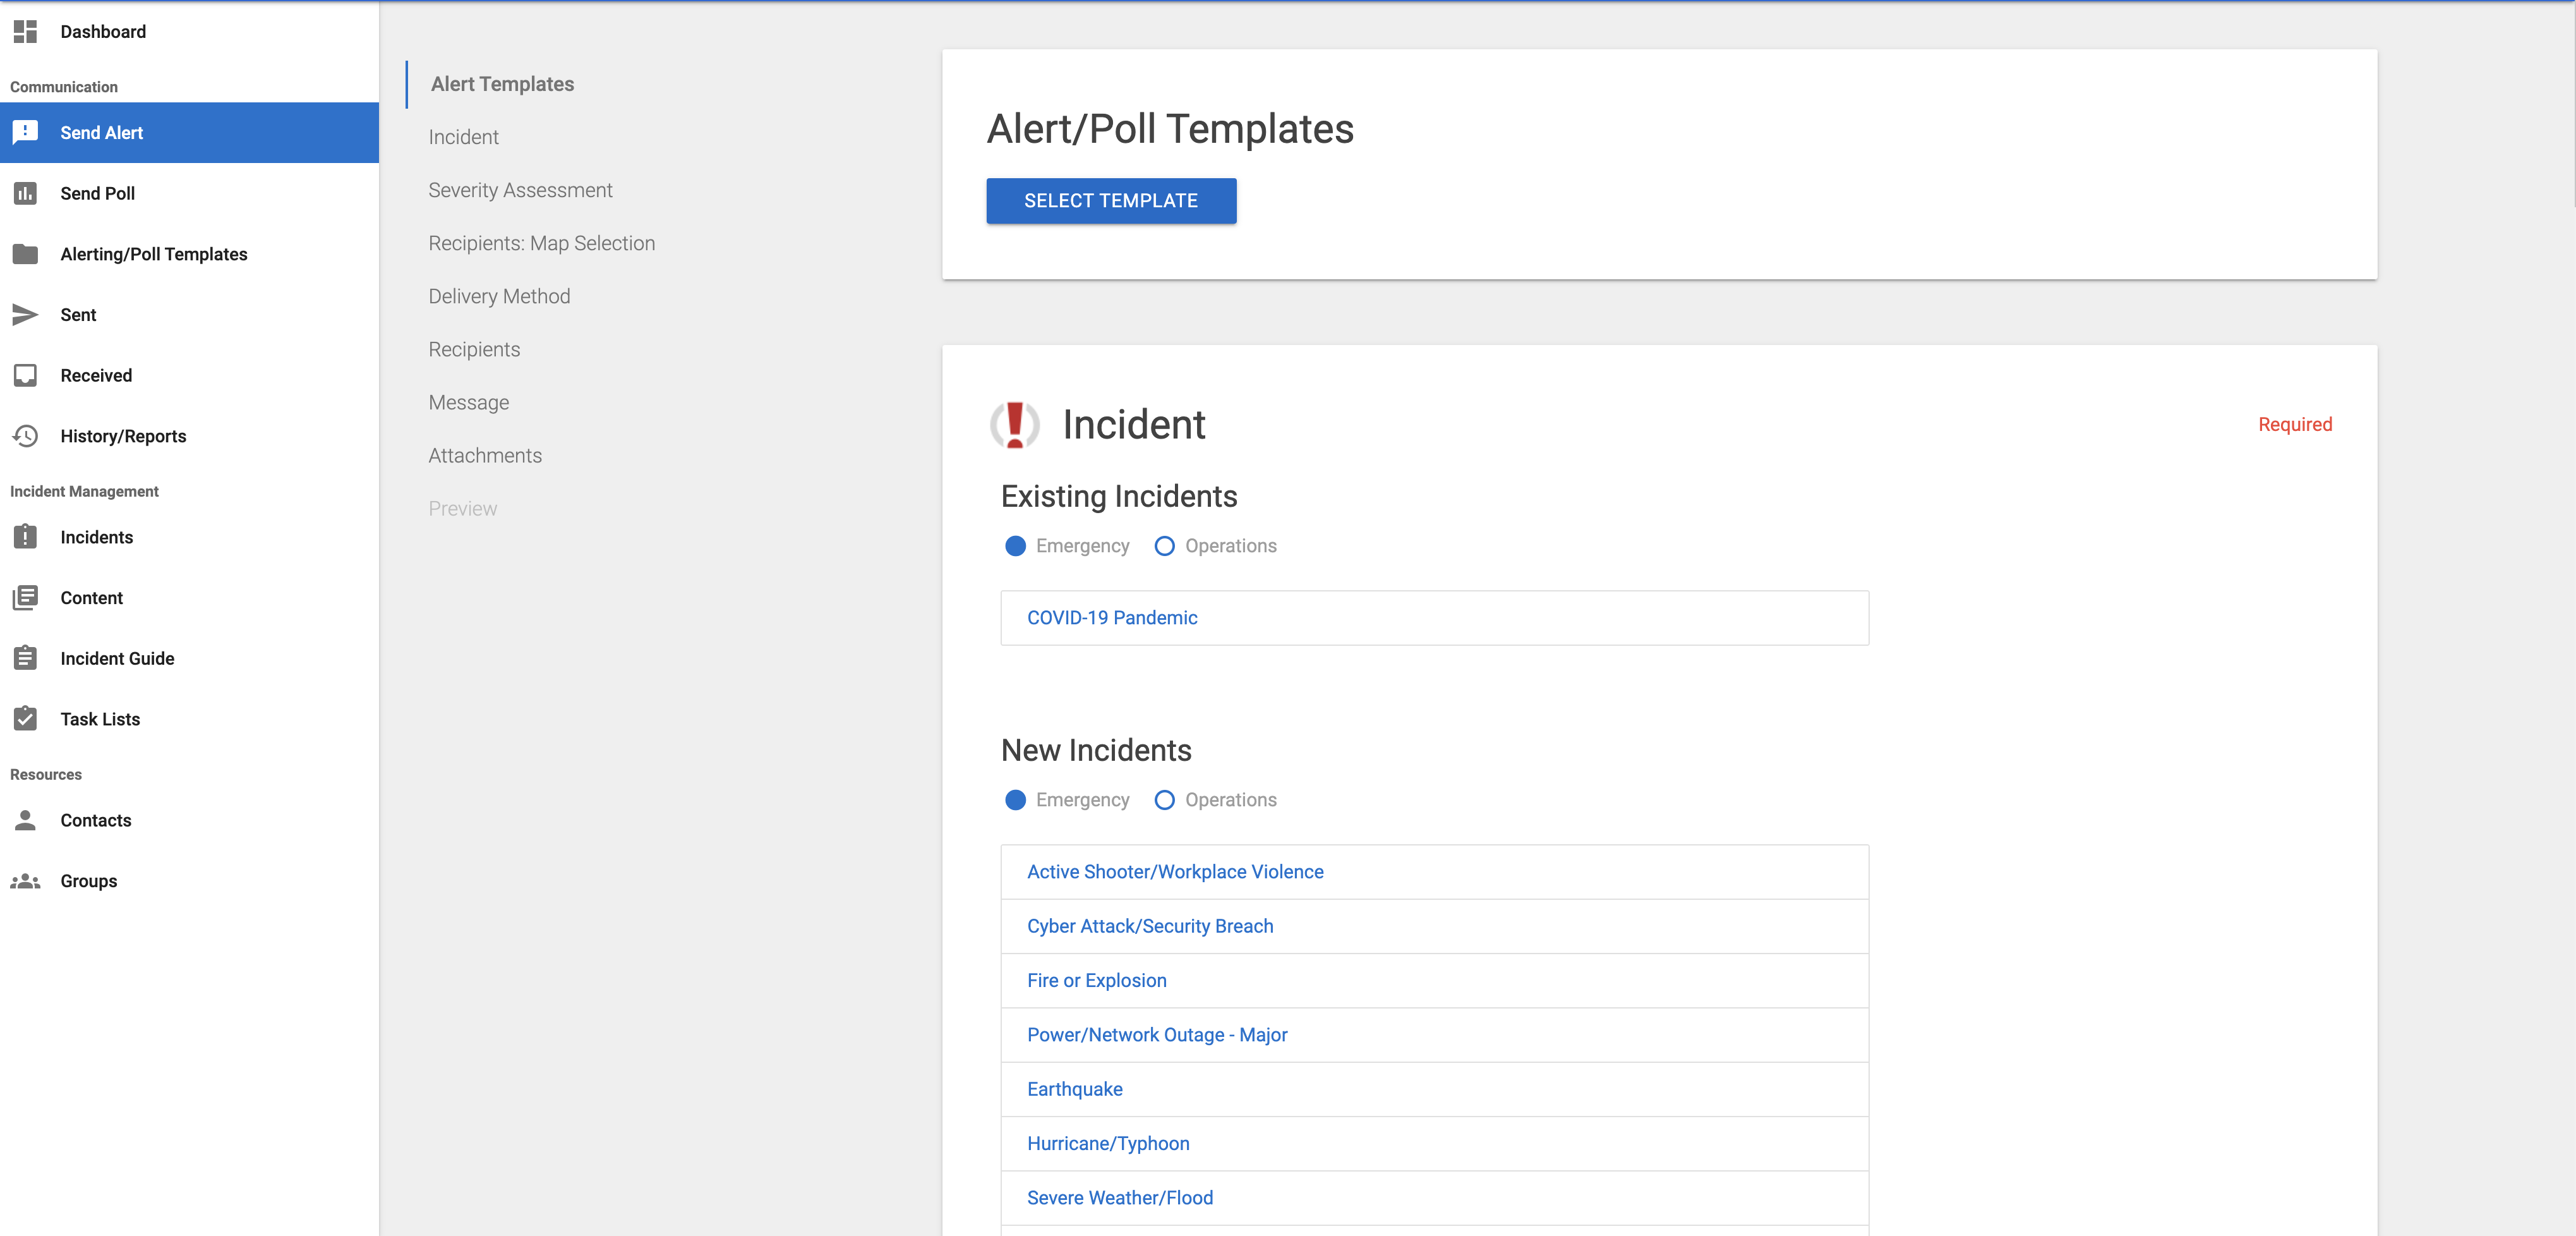
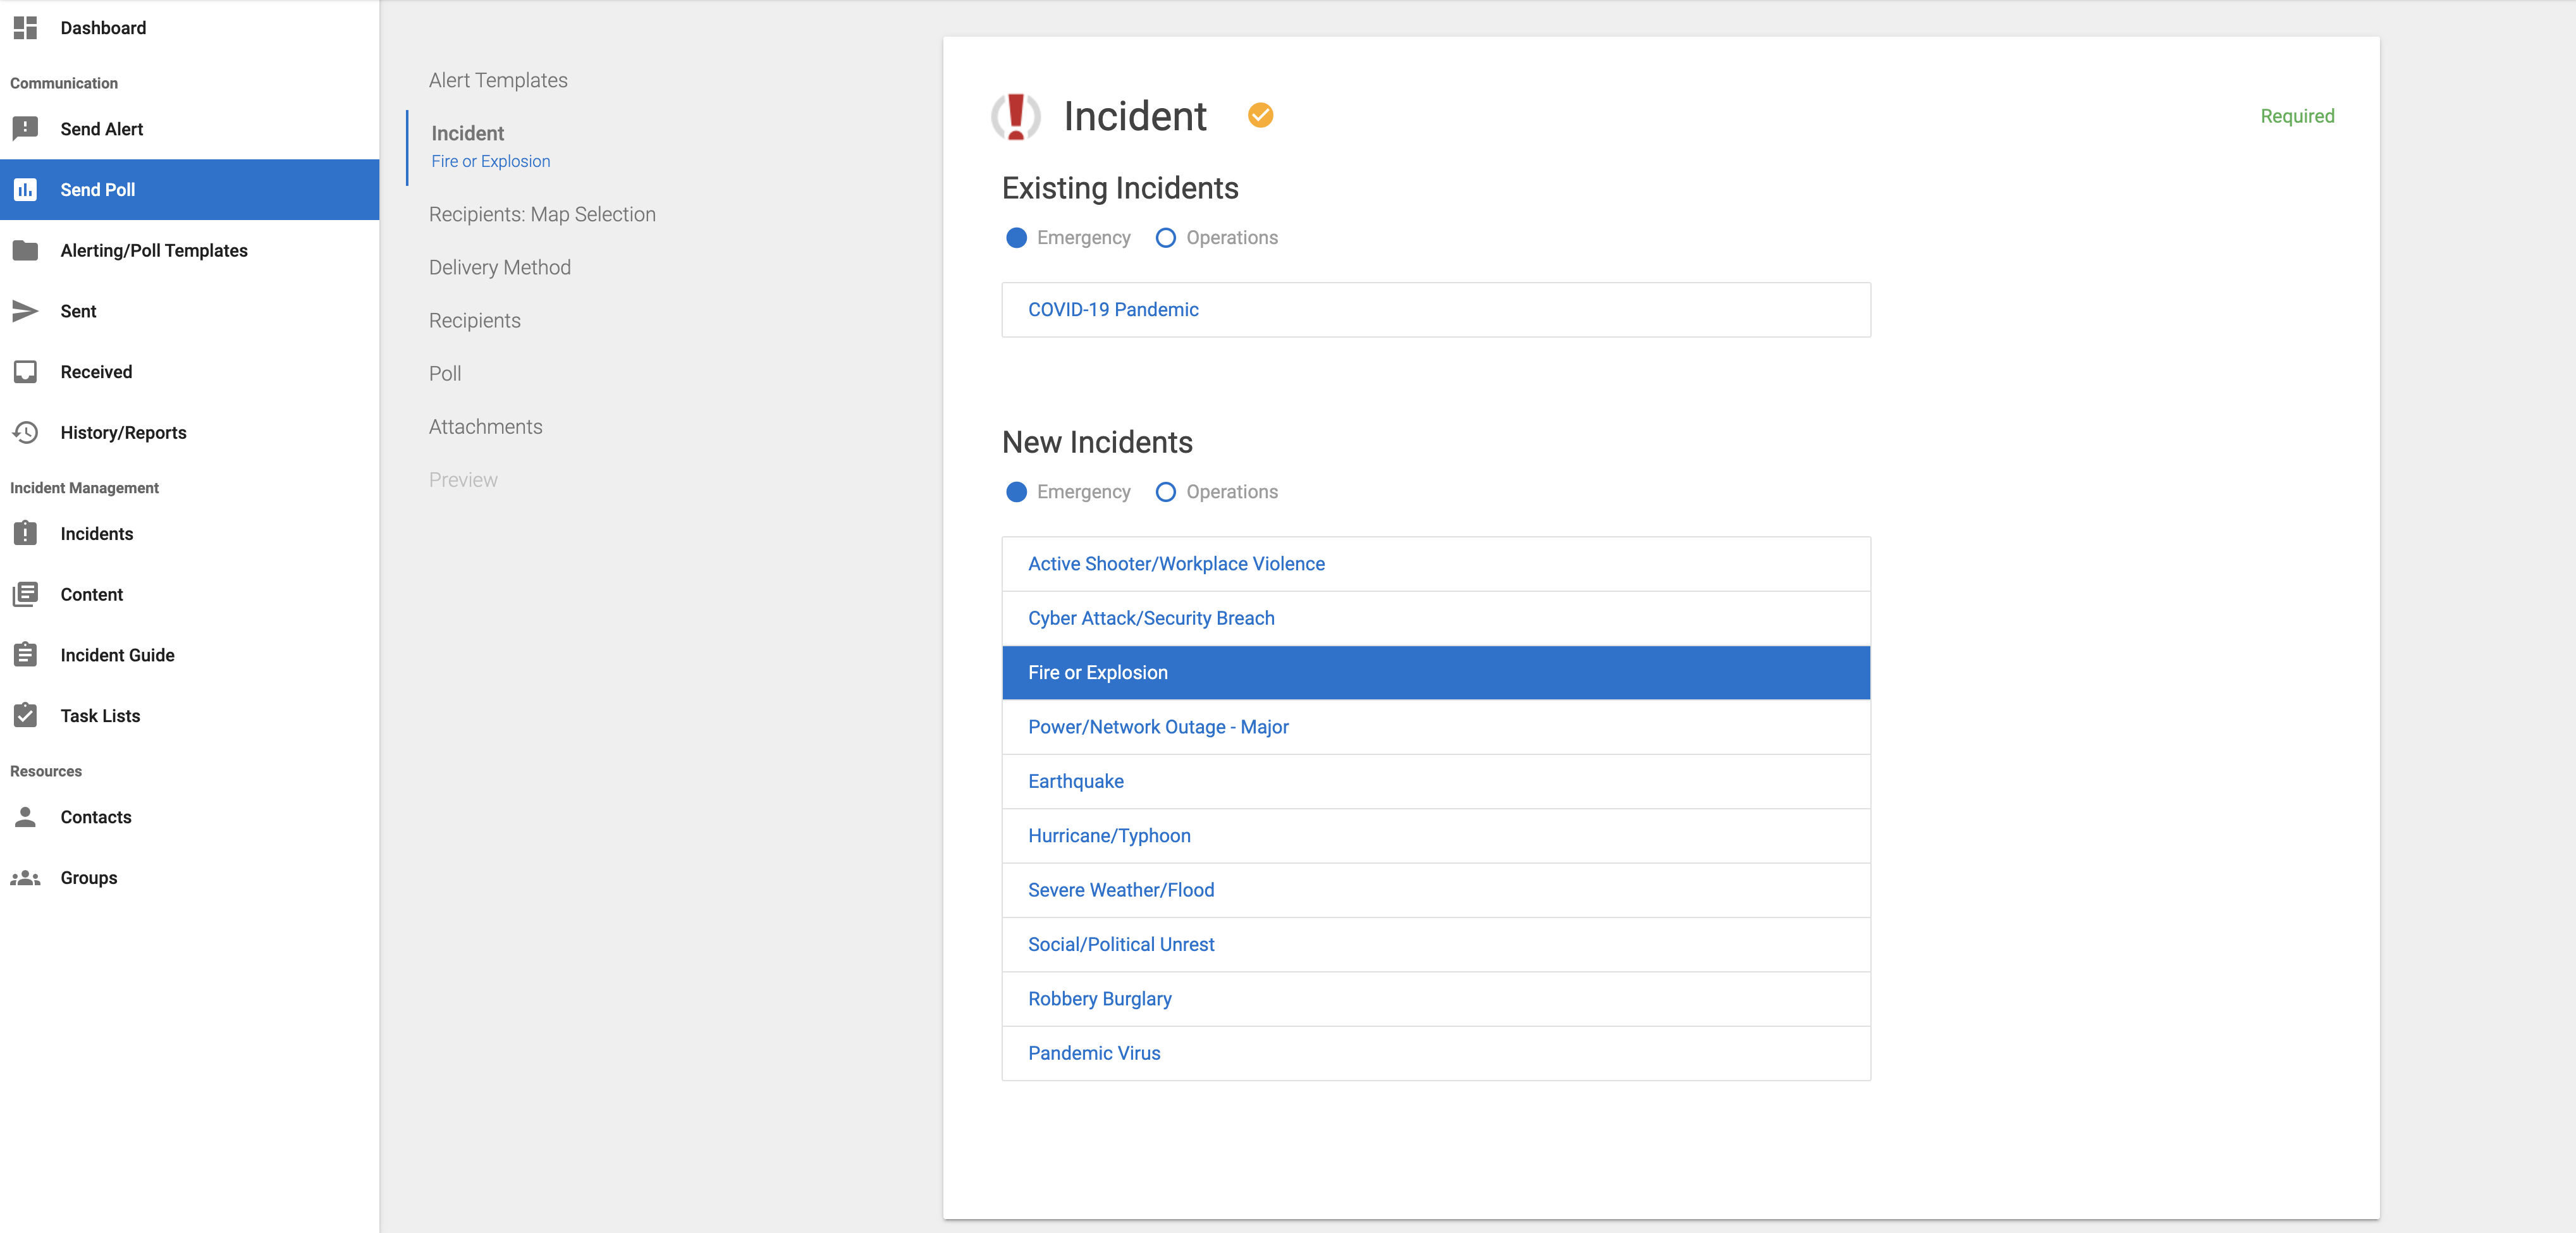
Step 2: Identify Incident Type or Emergency/Non-Emergency
In most cases, selecting the incident type or choosing Emergency/Non-Emergency is a mandatory field. The incident type gives recipients further insight and information about the poll. Assigning an incident type also allows for more detailed reporting and filtering on alert history.
Incident types can be selected from either existing or new incidents.
- Select the incident that best fits the current situation.
- Optionally, users can select a template to pre-populate fields from the selected template.
- Not all users will have permission to select a template.
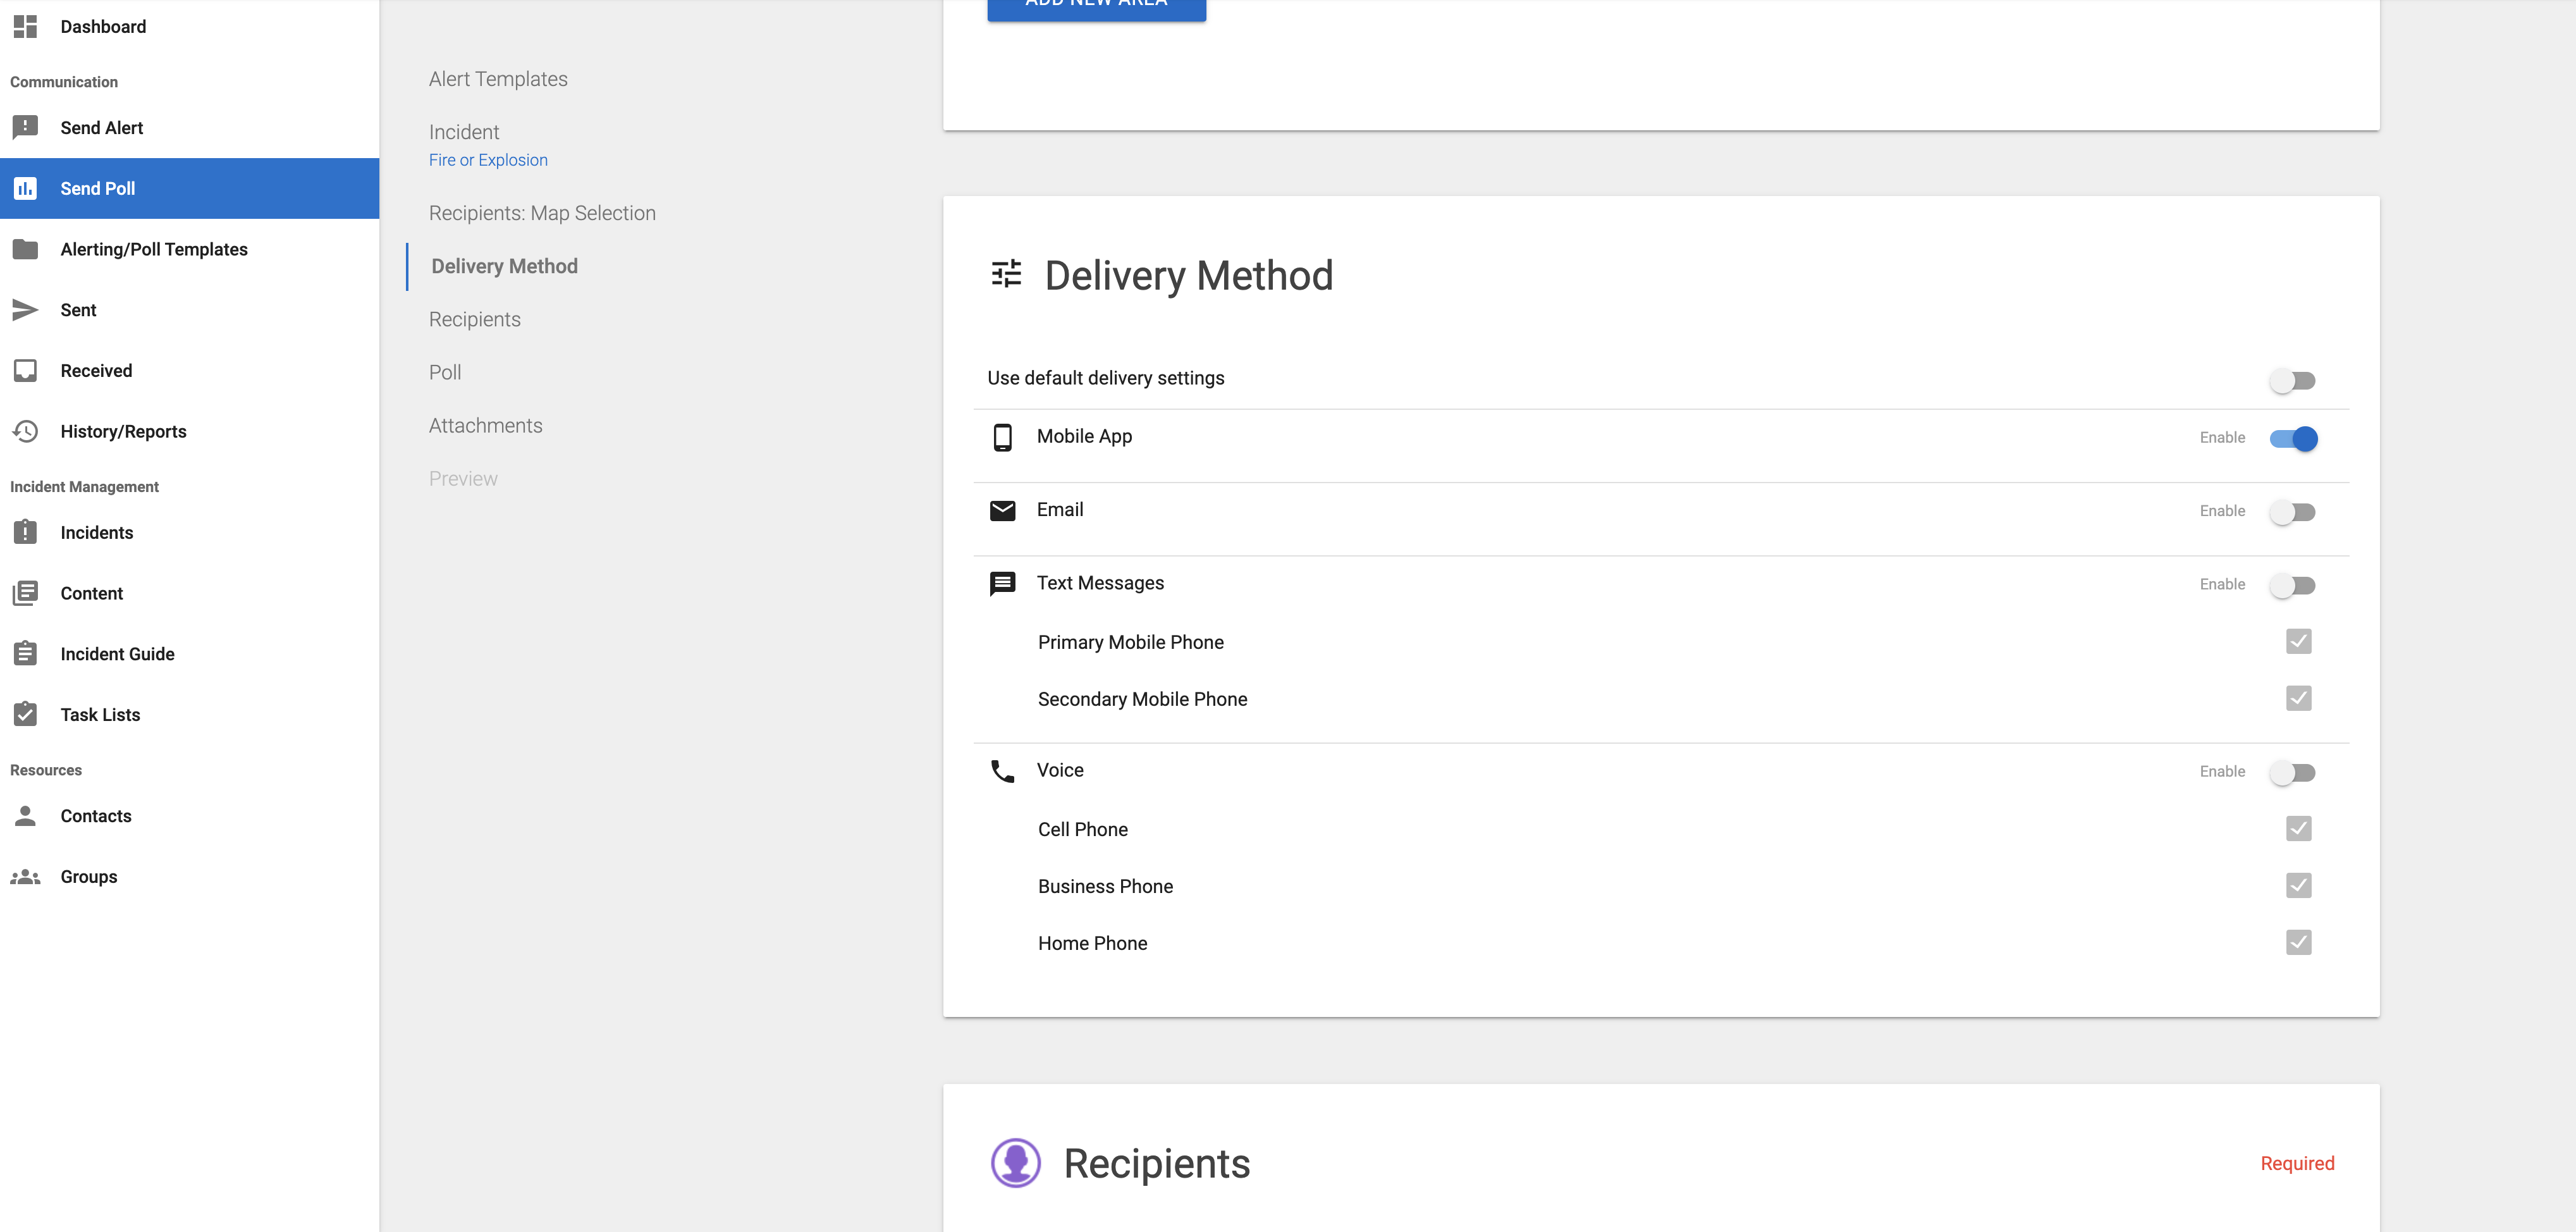
Step 3: Delivery Methods (required)
This part of the alert form allows users to adjust the channels by which the alert will be sent (mobile push, email, SMS, voice). The defaults that are set by your organization's admin will be assigned to the alert by default; however, this field allows users (who have permission to do so) to modify the channels to better target alert recipients.
- To modify the delivery methods, toggle the Use Default Delivery Settings off.
- This will expand the card and allow you to select/deselect any of the available alerting channels.
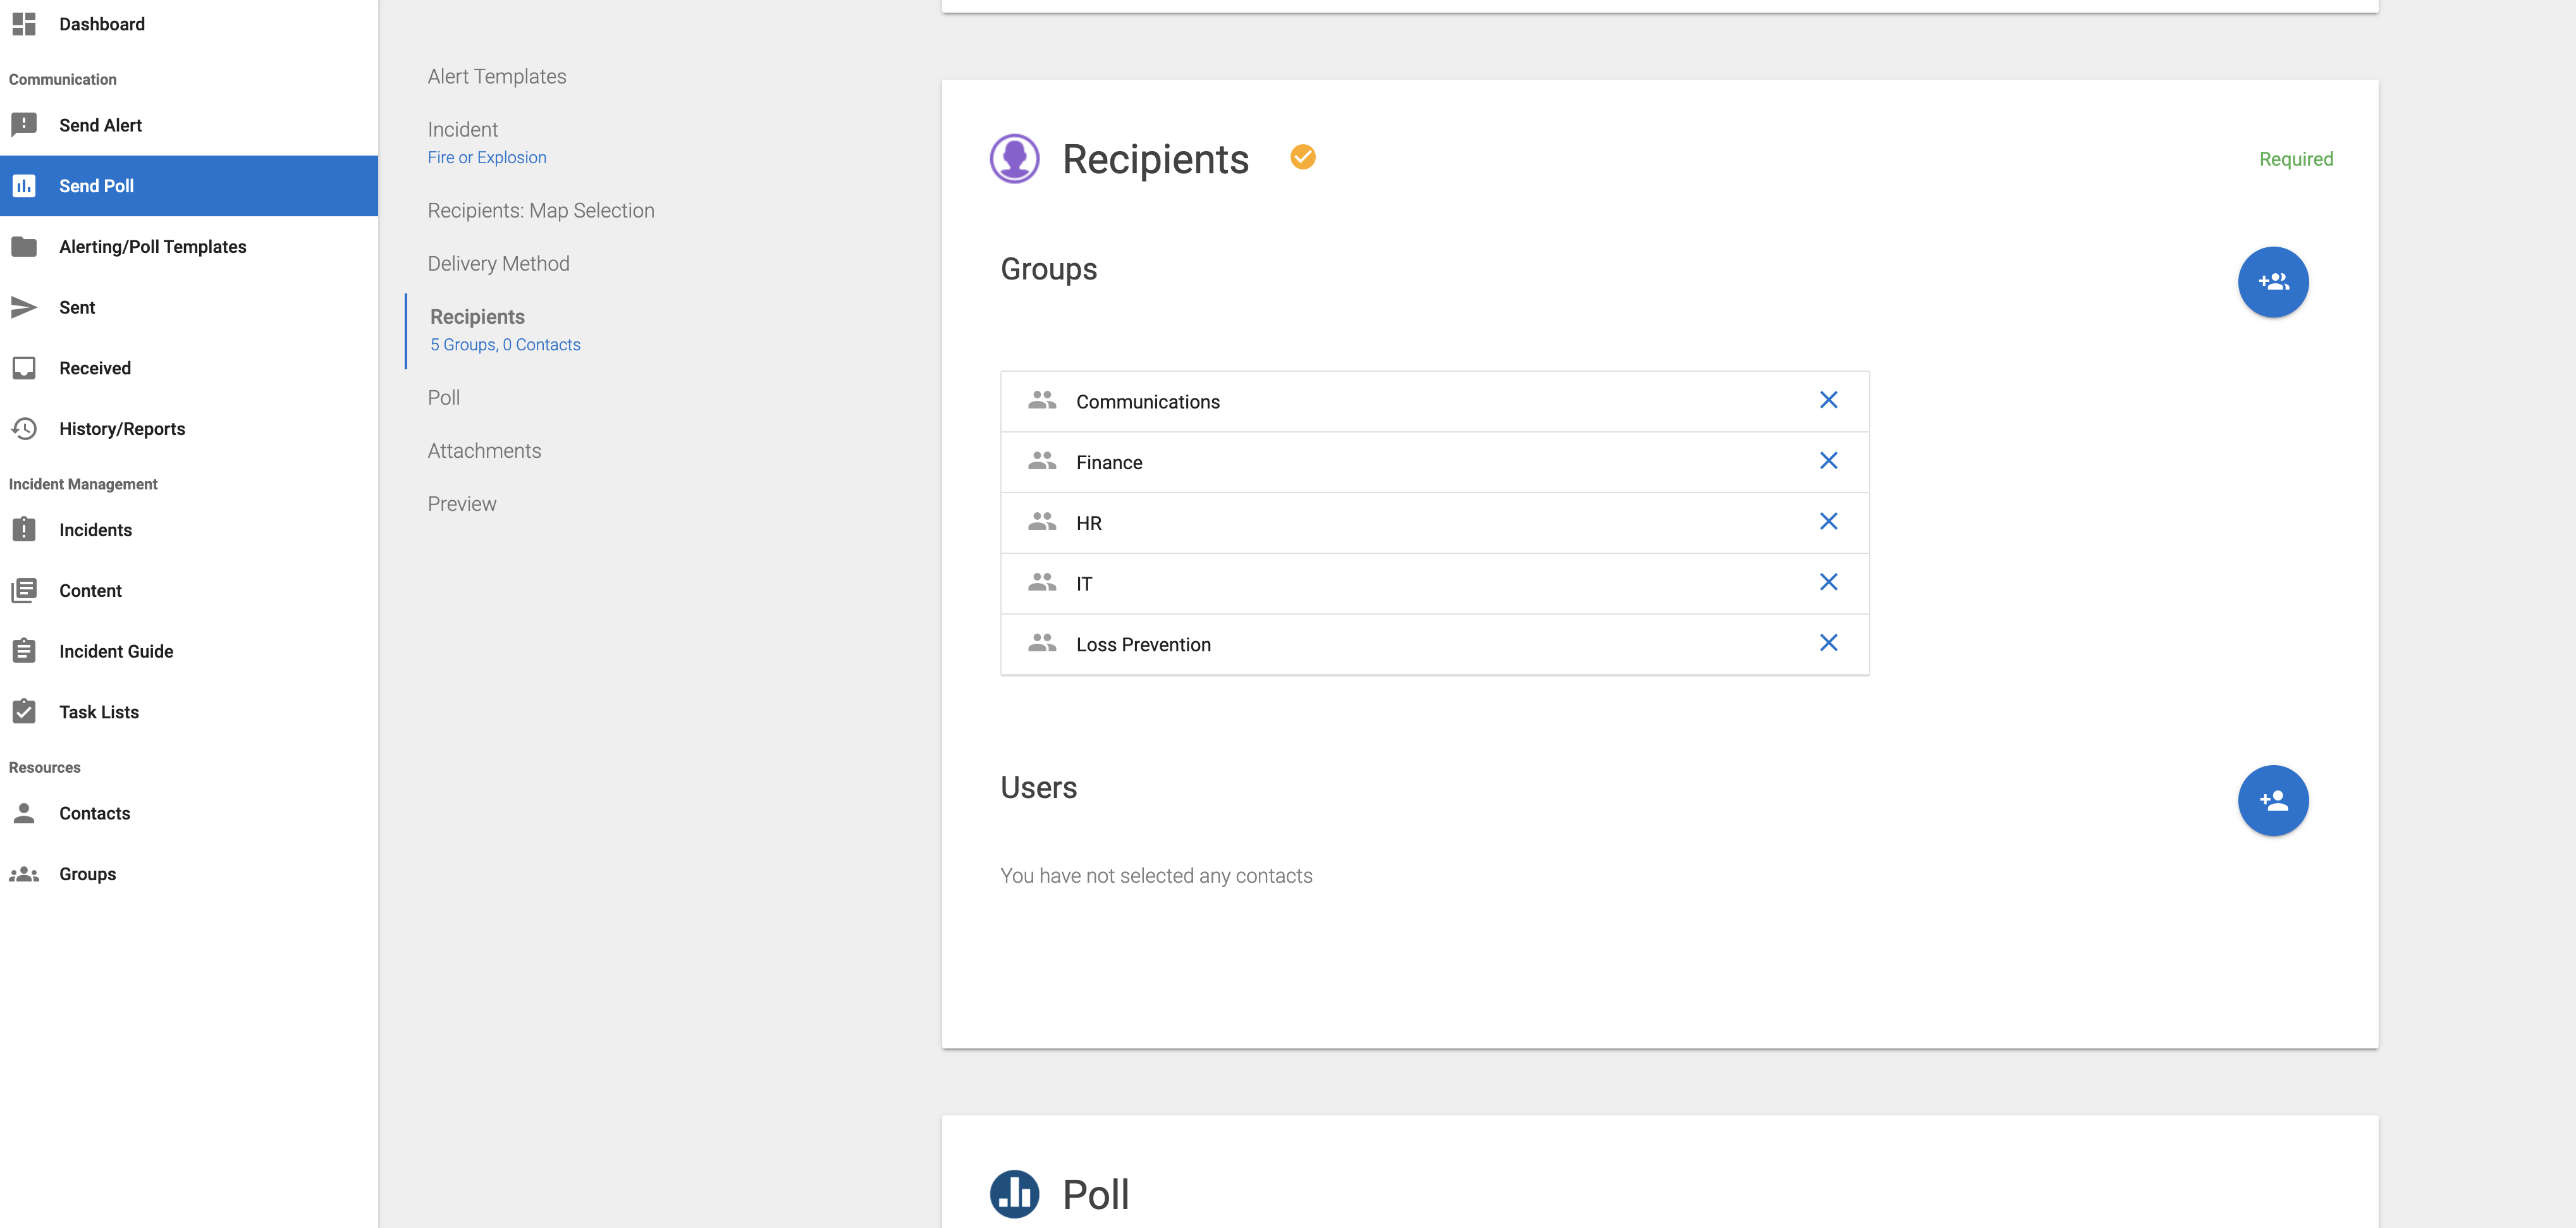
Step 4: Recipient Selection
Recipients can be selected by either group or individual contact. Polls require at least one contact.
Add a Group
- Select
 to add a group as poll recipients.
 - Select the box next to the group's name to select the group as recipients.
- Select OK to confirm your selection.
Add Individual Contact
- Select
 to add individual users as poll recipients.
 - Locate the correct contact in the contacts list. Select a contact's name to select that contact as a recipient.
- Select OK to confirm your selection.
Some users may have auto-populated recipients based on their role. If this is the case, the recipient group will auto-populate on this card.
- Users can add to the pre-populated groups if desired.
- Pre-populated groups cannot be removed.
Step 5: Subject and Message
The subject, poll question, and poll responses are all required fields within this card.
Poll Responses:
- At least 2 responses are required, and up to 5 responses can be added.
- NOTE: Using English full words are highly encouraged, as single letters may result in translation if your tenant uses automatic translation. An example would be to use Yes instead of Y.
Add Poll Response
- Click
 to add a poll response.
 - Click
 to delete an added poll response option.
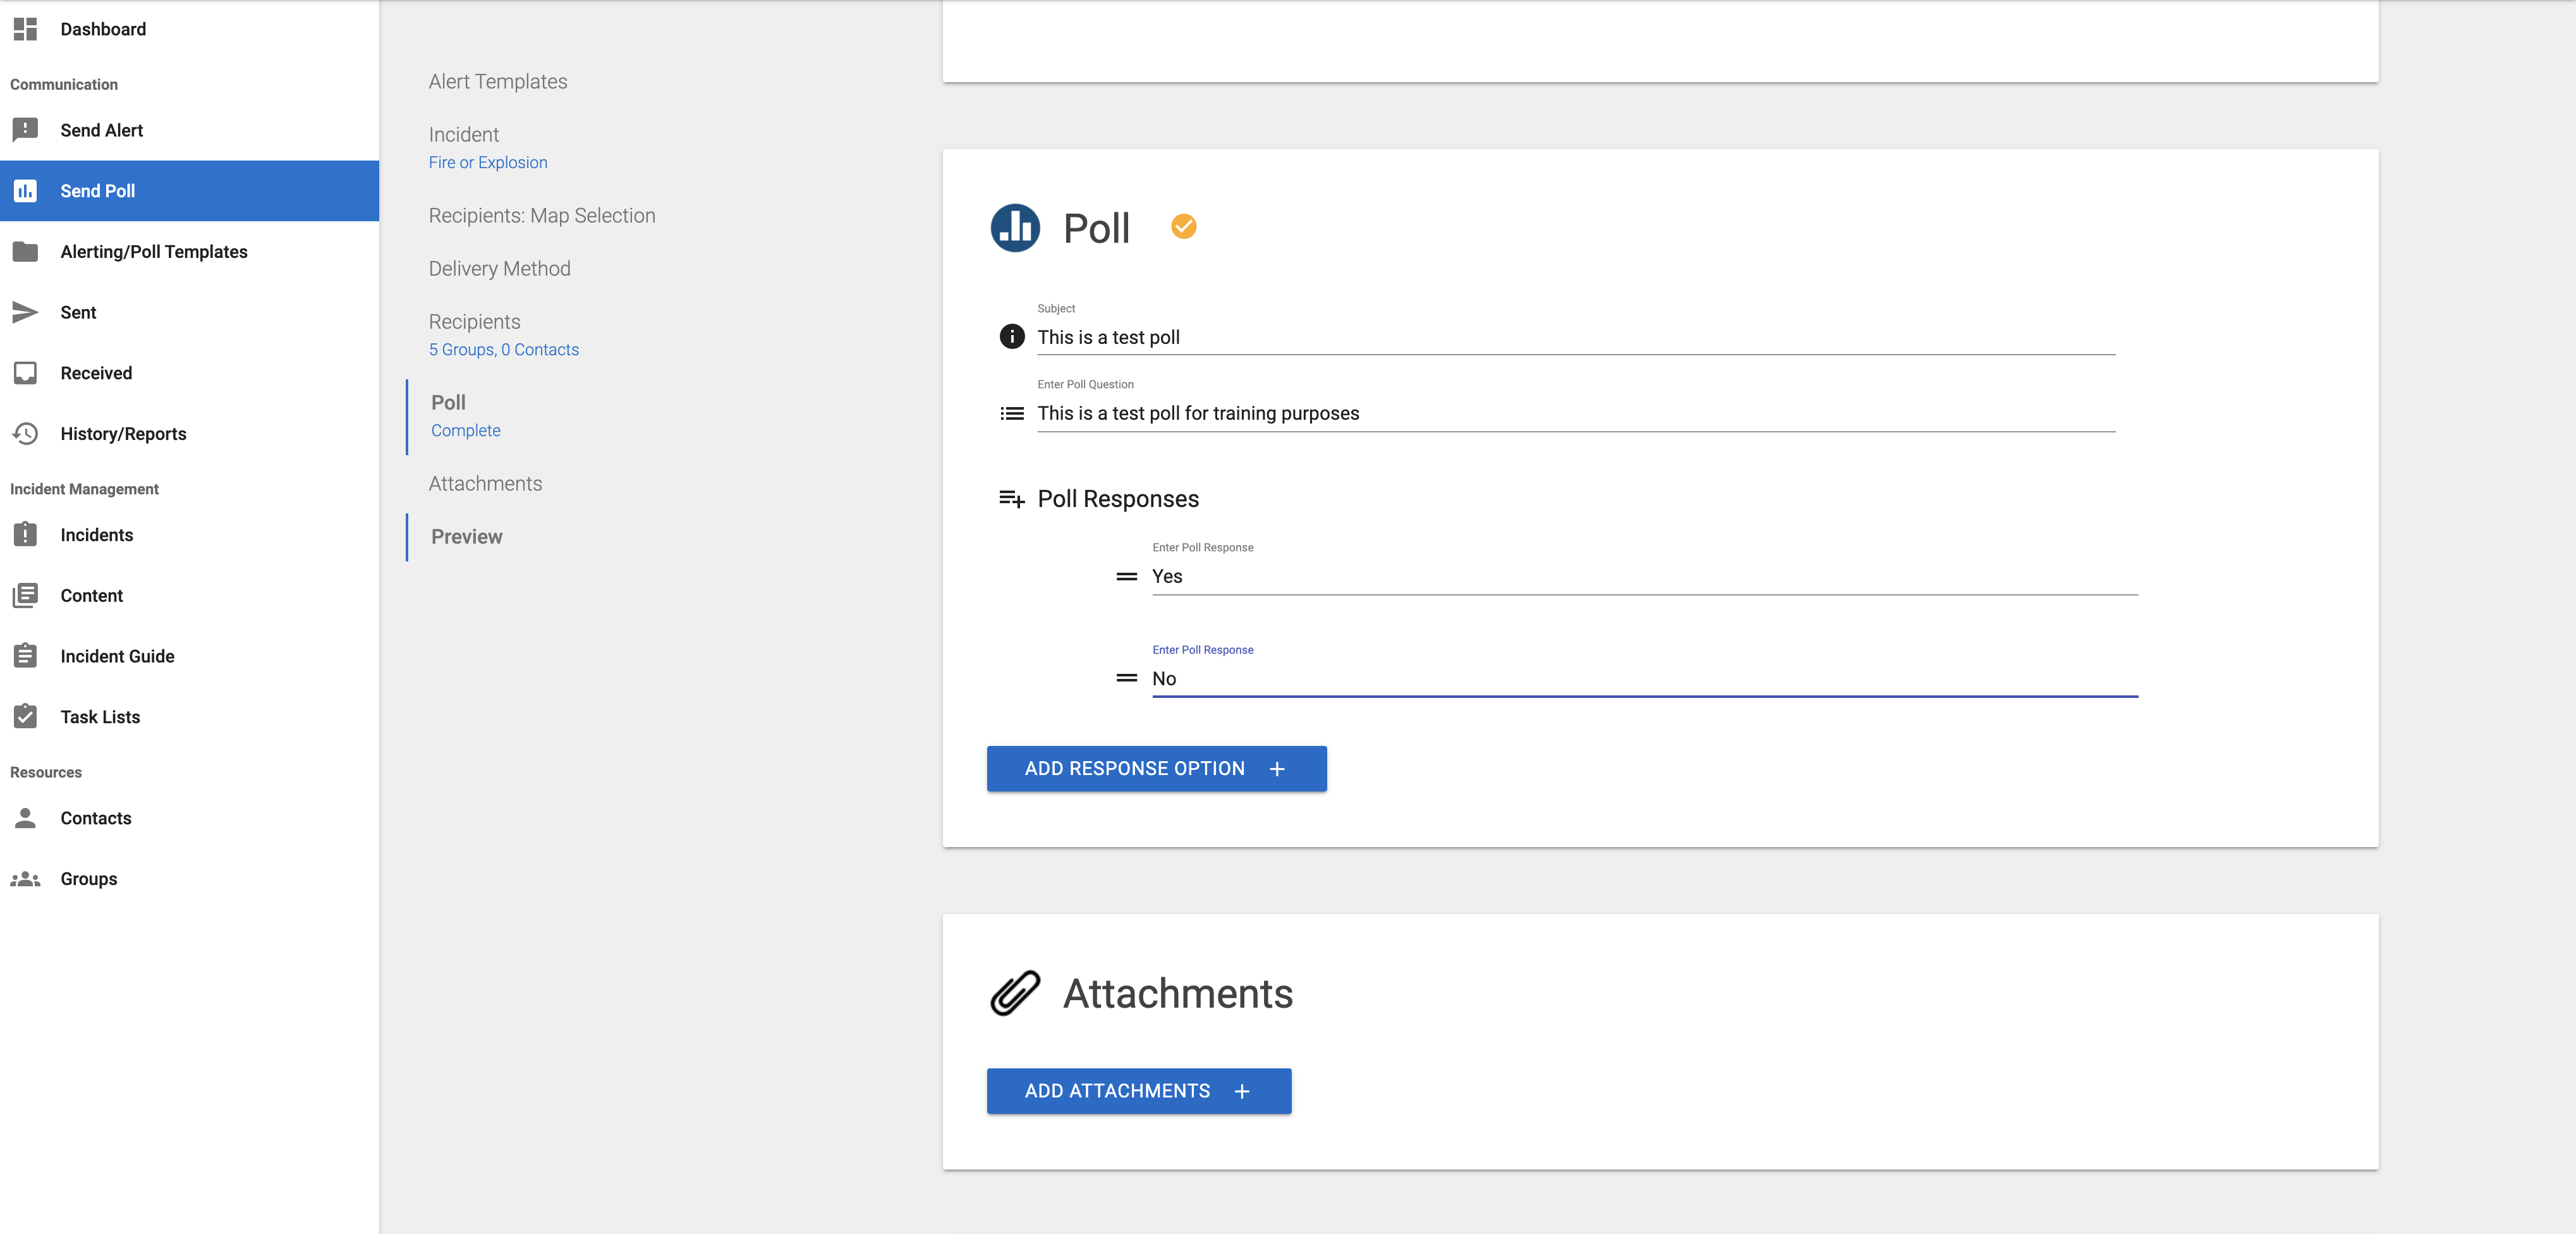
Step 6: Attachments (optional)
The attachments field allows users to attach any related images to their poll. Recipients will be able to view these images on both the mobile and web application.
To add an attachment:
- Select the Add Attachment button.
- Select the image file(s) that you would like to attach.
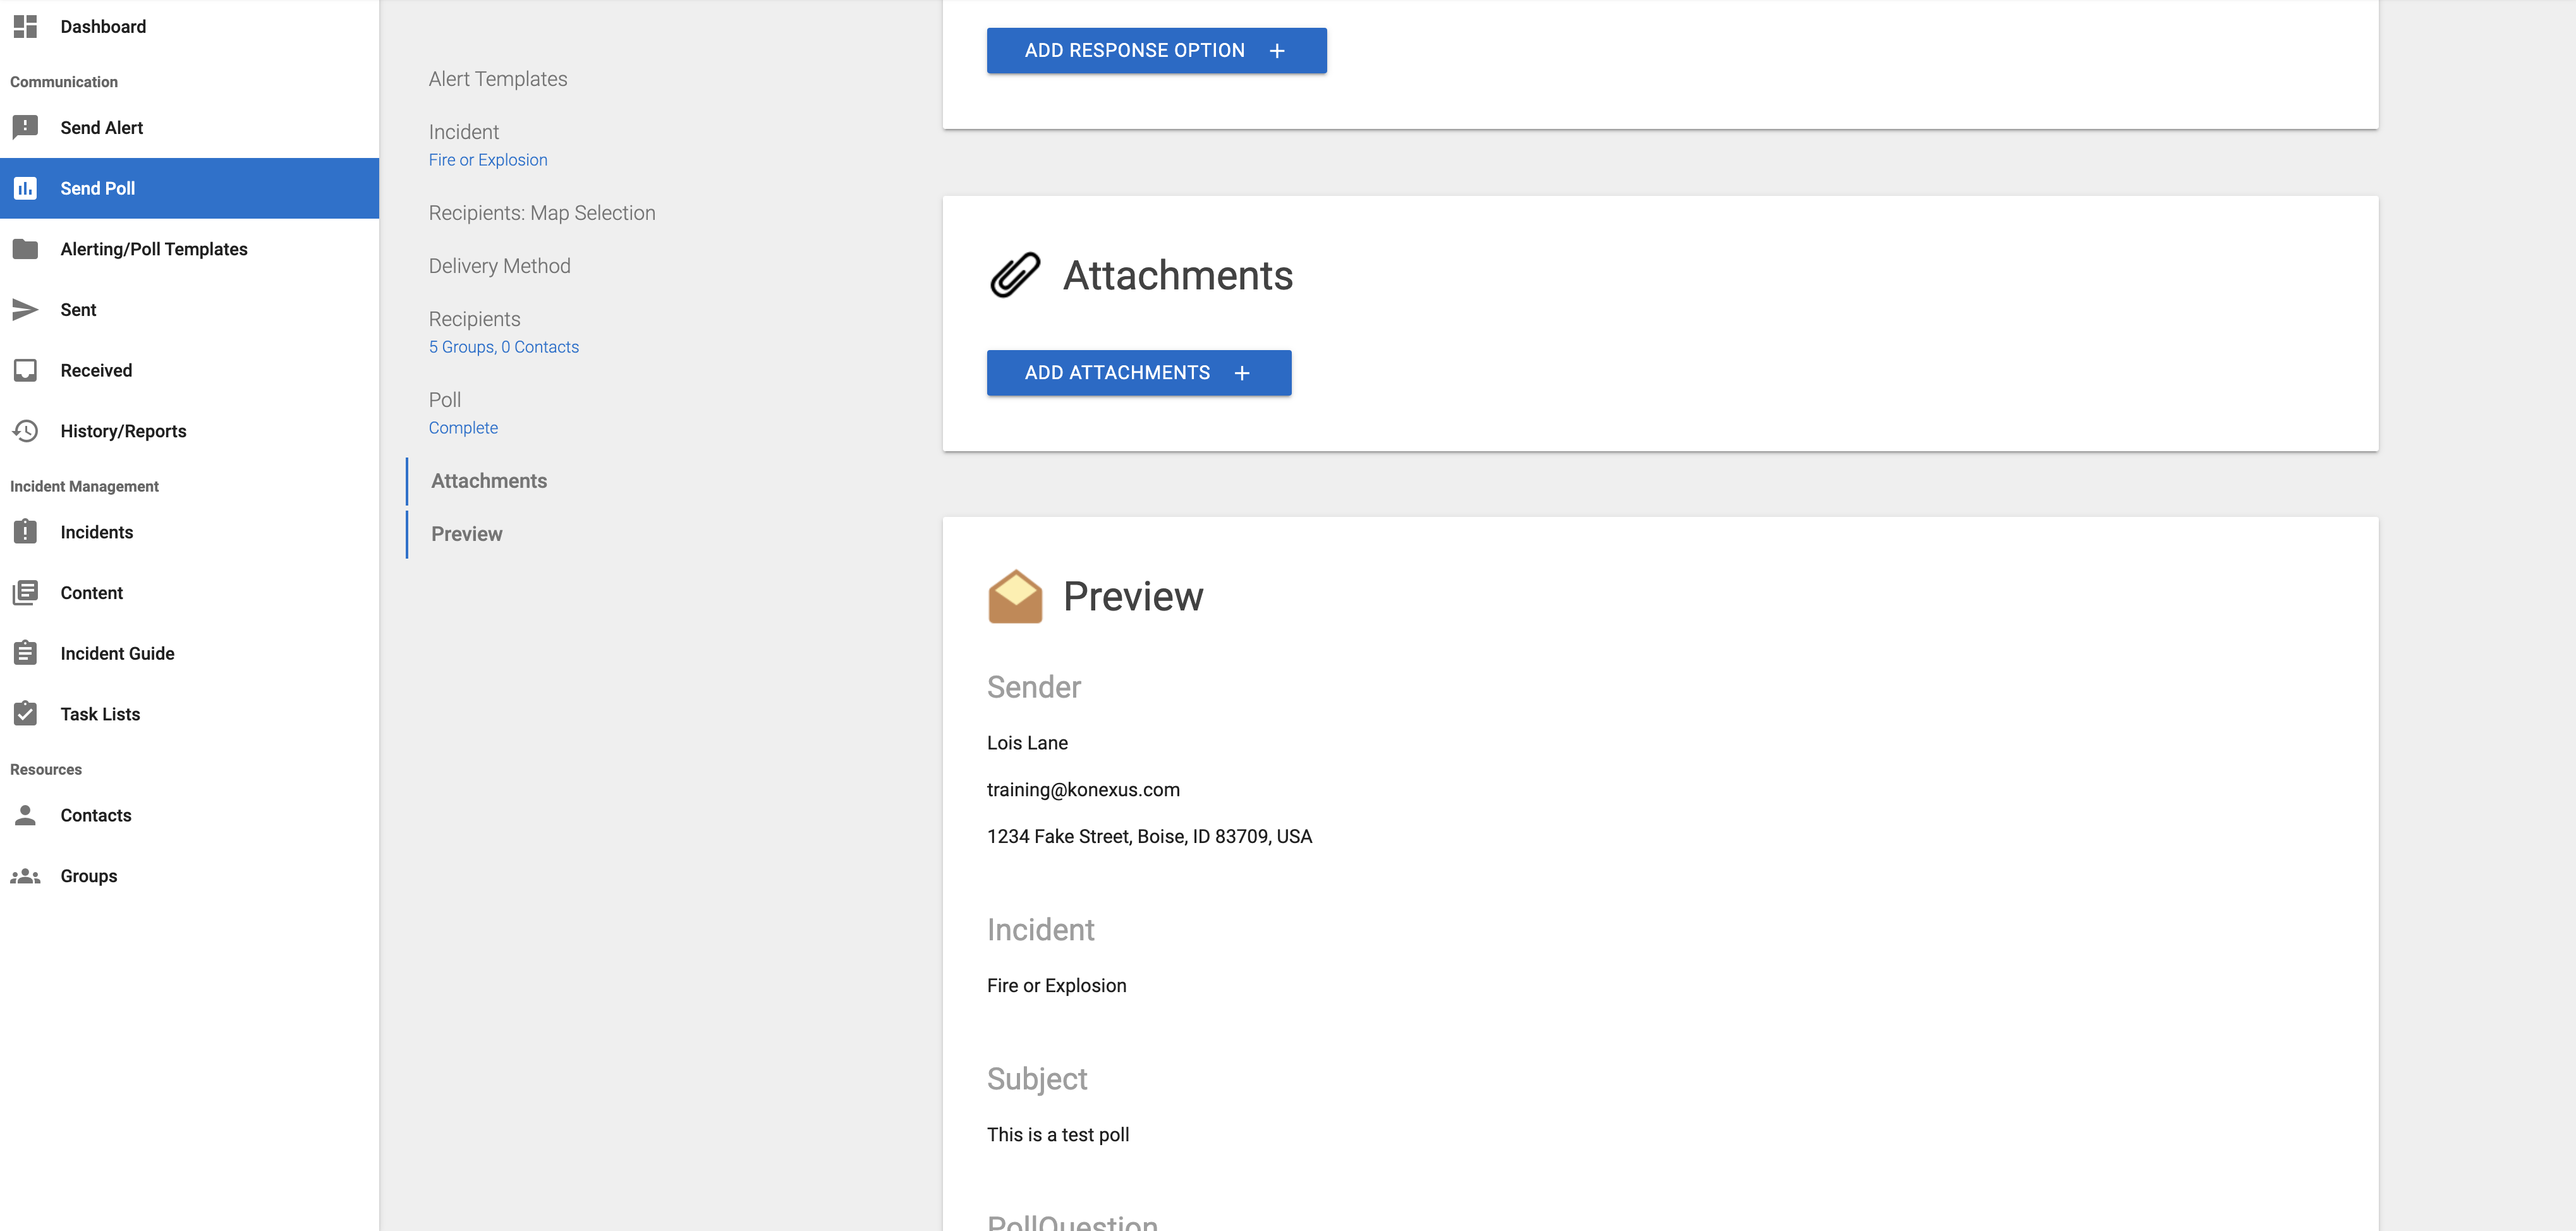
Step 7: Preview and Send
The preview card allows the sender to preview the poll to ensure that all the entered information is correct. If there are any required fields that have not been completed, the preview card will notate which required fields are still incomplete (see previous screenshots for examples).

Send the Poll
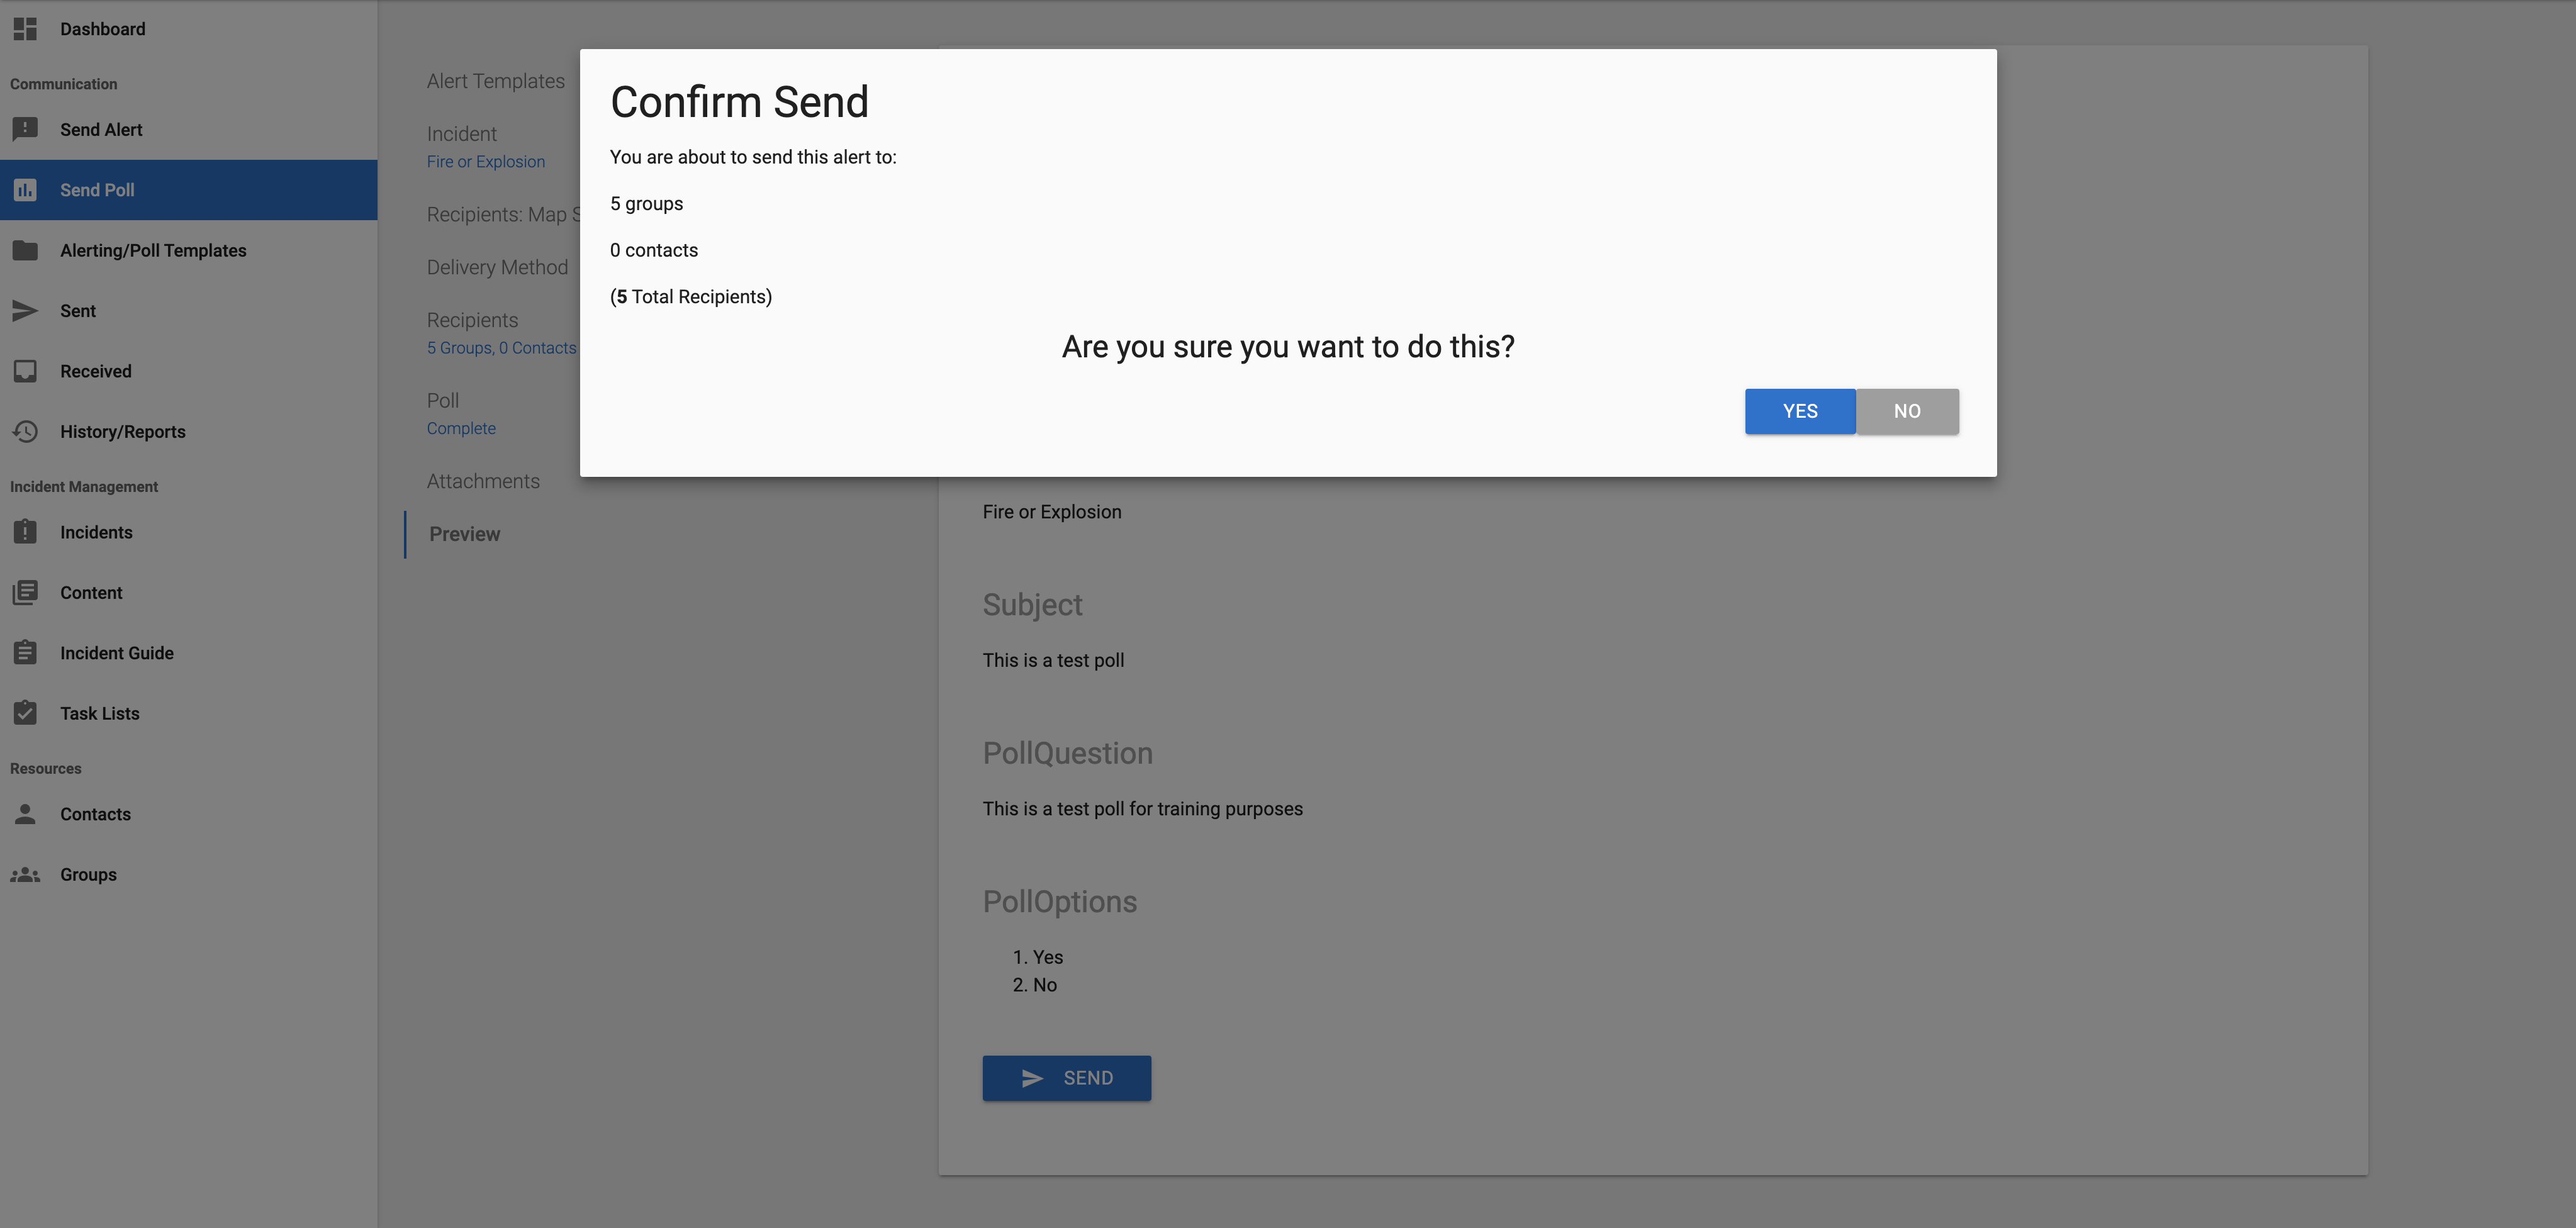
- When you are satisfied with the poll preview and all required fields are complete, click the Send button.
- You will be prompted to confirm the send action and can view the total recipient count before sending. Once you click Yes, the poll will be sent out. Once a poll is sent, it cannot be modified.