See the Managing Groups in a Directory guide for helpful tips and answers to frequently asked questions.
Create a New Group or Edit an Existing
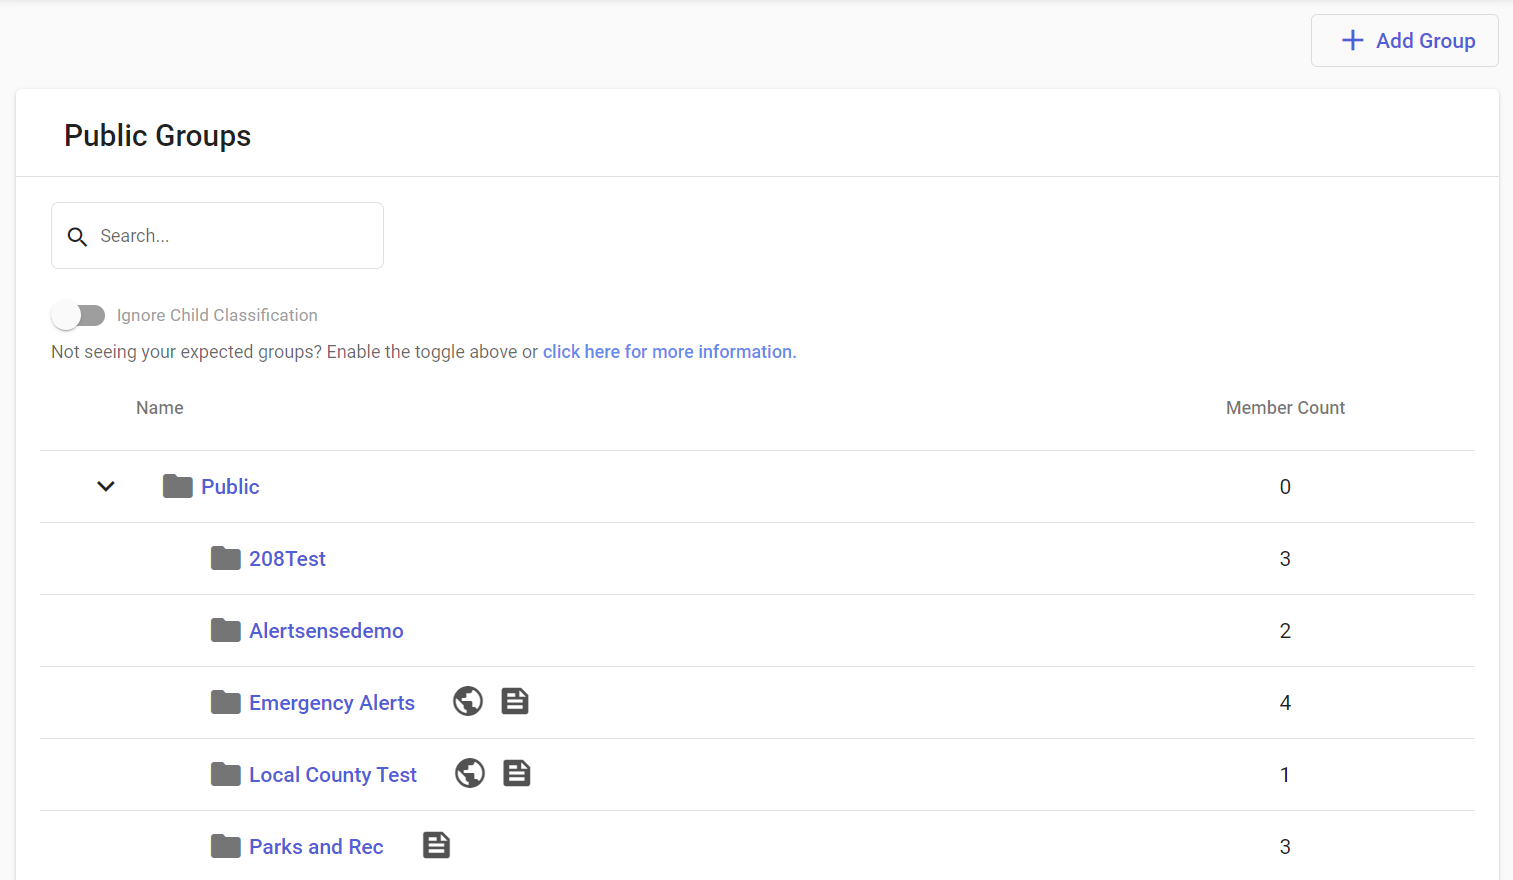
1. To begin, either choose the group you wish to modify or click on 'Add Group' located in the top right corner of the Manage Groups page.

2. Complete or Edit the Group Details form

Group Form Overview
- Classification - Required
- The classification field is auto populated based on the directory or parent group that you entered the Group Details form from.
- There is no need to change this value.
Modifying the classification field may lead to conflicts within group structures. It is essential for a group’s classification to align with that of its parent group, if applicable, as well as the associated directory. For instance, avoid placing a Public Group within an Internal Group, or vice versa, to maintain proper organizational integrity..
- Visible on Public User Form - Optional
- When checked, the group will be visible on your public signup page, and your citizens can subscribe to alerts sent to this group.
- Parent - Optional
- To nest this group within an existing group, simply select a parent group from the dropdown menu. If you choose not to modify the parent field, this group will be positioned at the top level of your group structure.
- Group Name - Required
- A friendly/helpful name for the group
- Notes - Optional
- These notes are intended for internal reference and can assist in clarifying the group's purpose. Additionally, this information will be displayed on the public signup page, providing citizens with more insight into the types of alerts they can expect if they choose to subscribe to this group.
- Assign Group Keywords - Optional
- If you assign keywords to this group, citizens will have the ability to subscribe by simply texting any of the designated keywords to our shortcode (38276).

- If you assign keywords to this group, citizens will have the ability to subscribe by simply texting any of the designated keywords to our shortcode (38276).
Add Contacts to a Group
To enhance your group management experience, you can add contacts to an existing group by first selecting the desired group from the Manage Groups page. Please note that contacts cannot be added during the creation of a new group. Instead, complete the group creation form, and once the new group is established, you can easily select it from the management page to add contacts.
When establishing nested group structures, it is important to assign users only to the lowest level of nesting. For instance, in the screenshot provided, you will observe that the Internal and Testing groups do not contain any contacts. This occurs because both groups have child groups, ensuring that all contacts are organized within the lowest tier of the group hierarchy.
- Select your desired group from the Manage Groups page.
- In the Group Internal Members section of the card, simply click the Add Members button. This action will prompt a pop-up window displaying the Available Members selection box, allowing you to easily choose from the list of contacts.


- Search for contact names or select from the Members list.
- To select a member, click on their name. Once selected, a checkmark will appear next to the name, and it will be added to the Selected Members list.

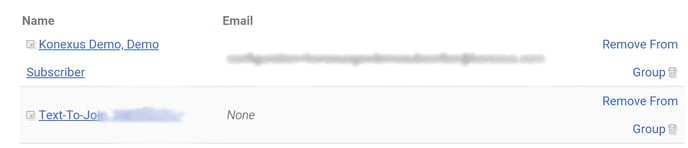
- To remove users from a group, simply click on the trash can icon next to their name. This action will only remove them from the group, ensuring that their record remains intact in the system.

When a user sends a text to the short code (38276) along with a keyword linked to a specific group, their phone number will be recorded in the system, and they will automatically join the associated group for that keyword. If the user's phone number is not already present in the system, they will be created as a new contact, with "Text-To-Join" recorded as their last name and their phone number as their first name.
Creating Child Groups
You can create a child group by selecting the appropriate parent from the dropdown field within the Group Details form. Additionally, if you are updating an existing group, simply click the 'Add New Child Group' button to initiate the creation of a new child group.

Clicking this button will take you through the group creation process outlined above, but the parent dropdown field will be auto populated with the correct parent group.
Creating Linked Groups
For those with advanced knowledge, it is possible to designate groups as linked children. This feature allows administrators, who may have restricted access to certain groups, to send alerts to the linked group without the ability to add, remove, or delete any members from it.
- To add a group as a linked child, click Child and Linked Groups.

A Linked Child group is represented by a chain link icon next to the group name, signifying that the group's data is sourced from another location and is not managed directly by the administrator.
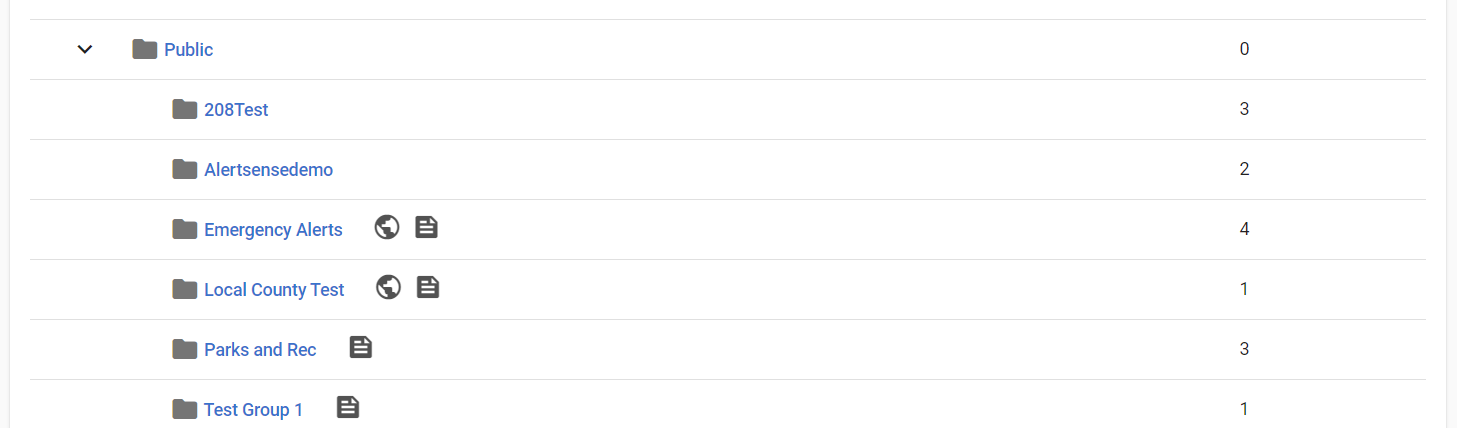
What do the Icons Next to The Group's Name Mean?
When navigating your group structure, you may see different icons before or after the group's name. Below is an overview of what each icon means.
| Icon | Description |
 |
This icon will be displayed when the groups classification does not match its parent's classification. See this section for more information on resolving classification conflicts. |
 |
This icon is displayed when a group is marked as a default public group. All public subscribers/contacts will be automatically subscribed to this group when they signup or are added to your public directory. |
 |
This icon is displayed when a group is marked as visible on the public signup page. This indicates that your public subscribers/contacts can subscribe to alerts sent to this group. |